Flyt™
About Us Defender UAV VTOL
Red Hummingbird Photos and video Contact
About UsDefender UAVVTOL
Flyt™
The future of transportation
Red HummingbirdPhotos and videoContact
IMG_4075.JPG
IMG_4078.JPG
IMG_3902.JPG
IMG_4080.JPG
IMG_4046.JPG
IMG_4081.JPG
IMG_2810.JPG
IMG_2882.JPG
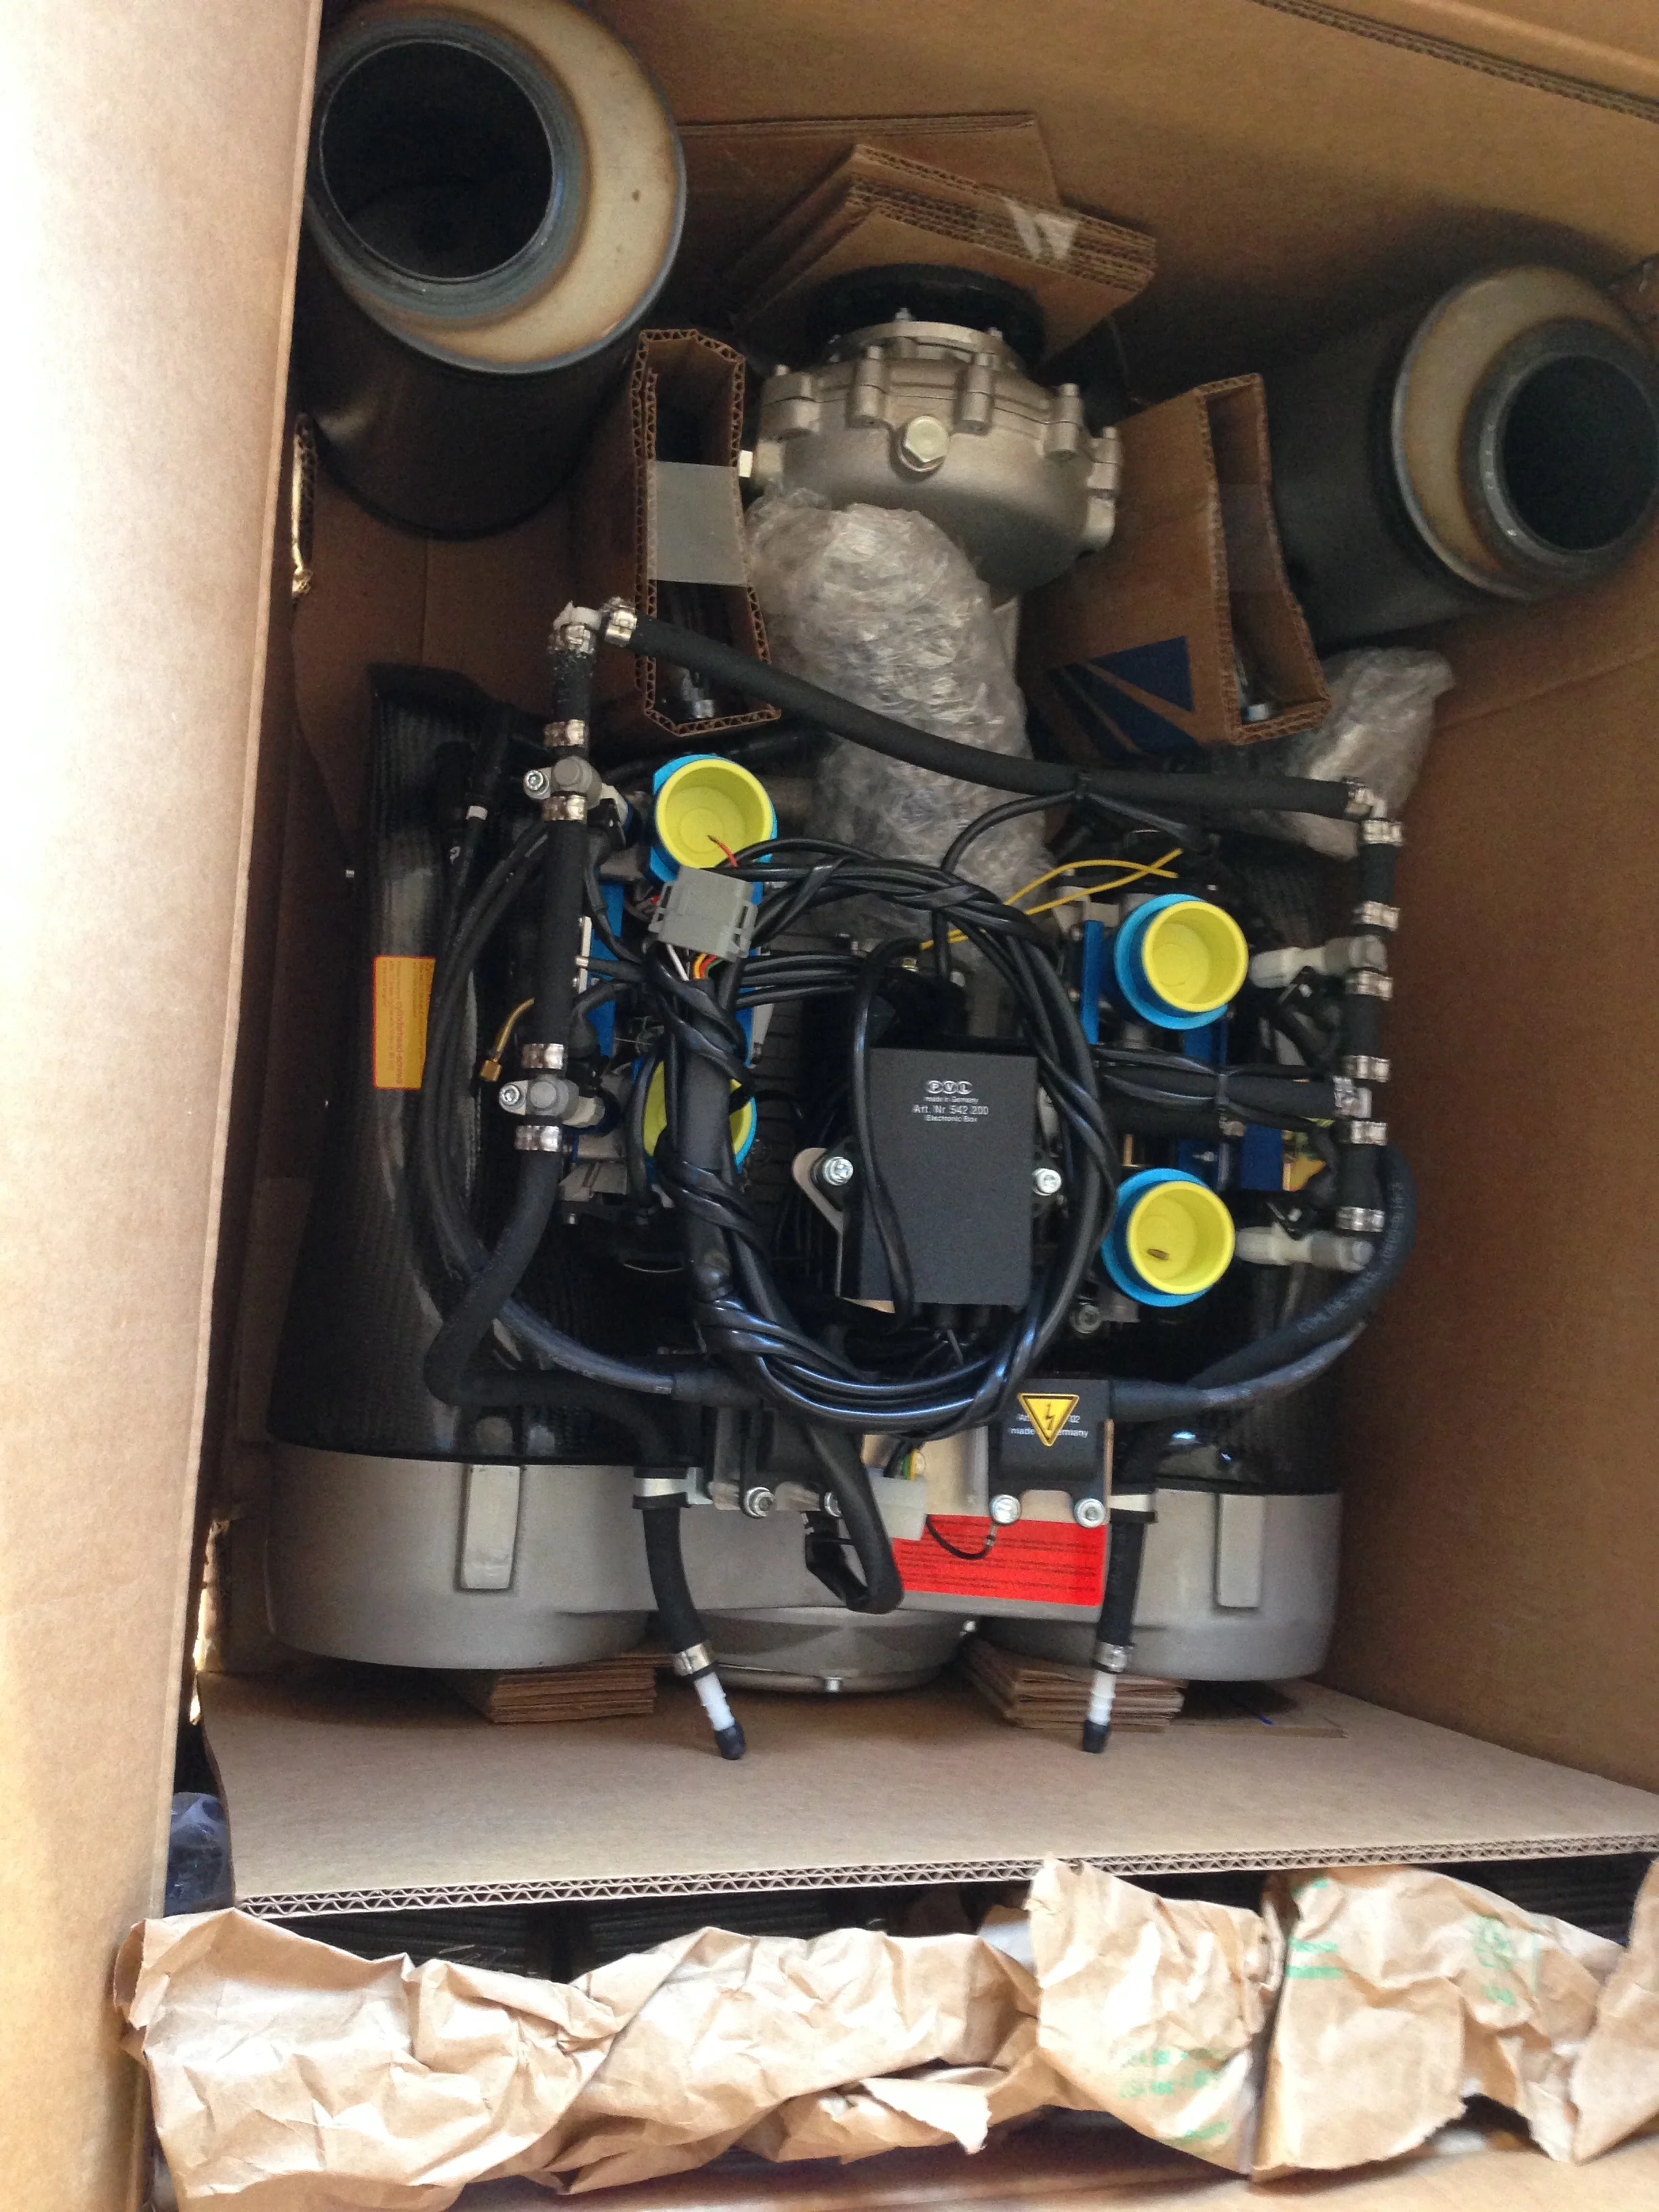
 Second aircraft engine being unpacked

Second aircraft engine being unpacked

 The engines needed to be run for a little over 5 hours before they were ready for use.  Here we are breaking the engine in on the Mark I frame.

The engines needed to be run for a little over 5 hours before they were ready for use.  Here we are breaking the engine in on the Mark I frame.

 A 105hp engine puts out a lot of wind when it's running

A 105hp engine puts out a lot of wind when it's running

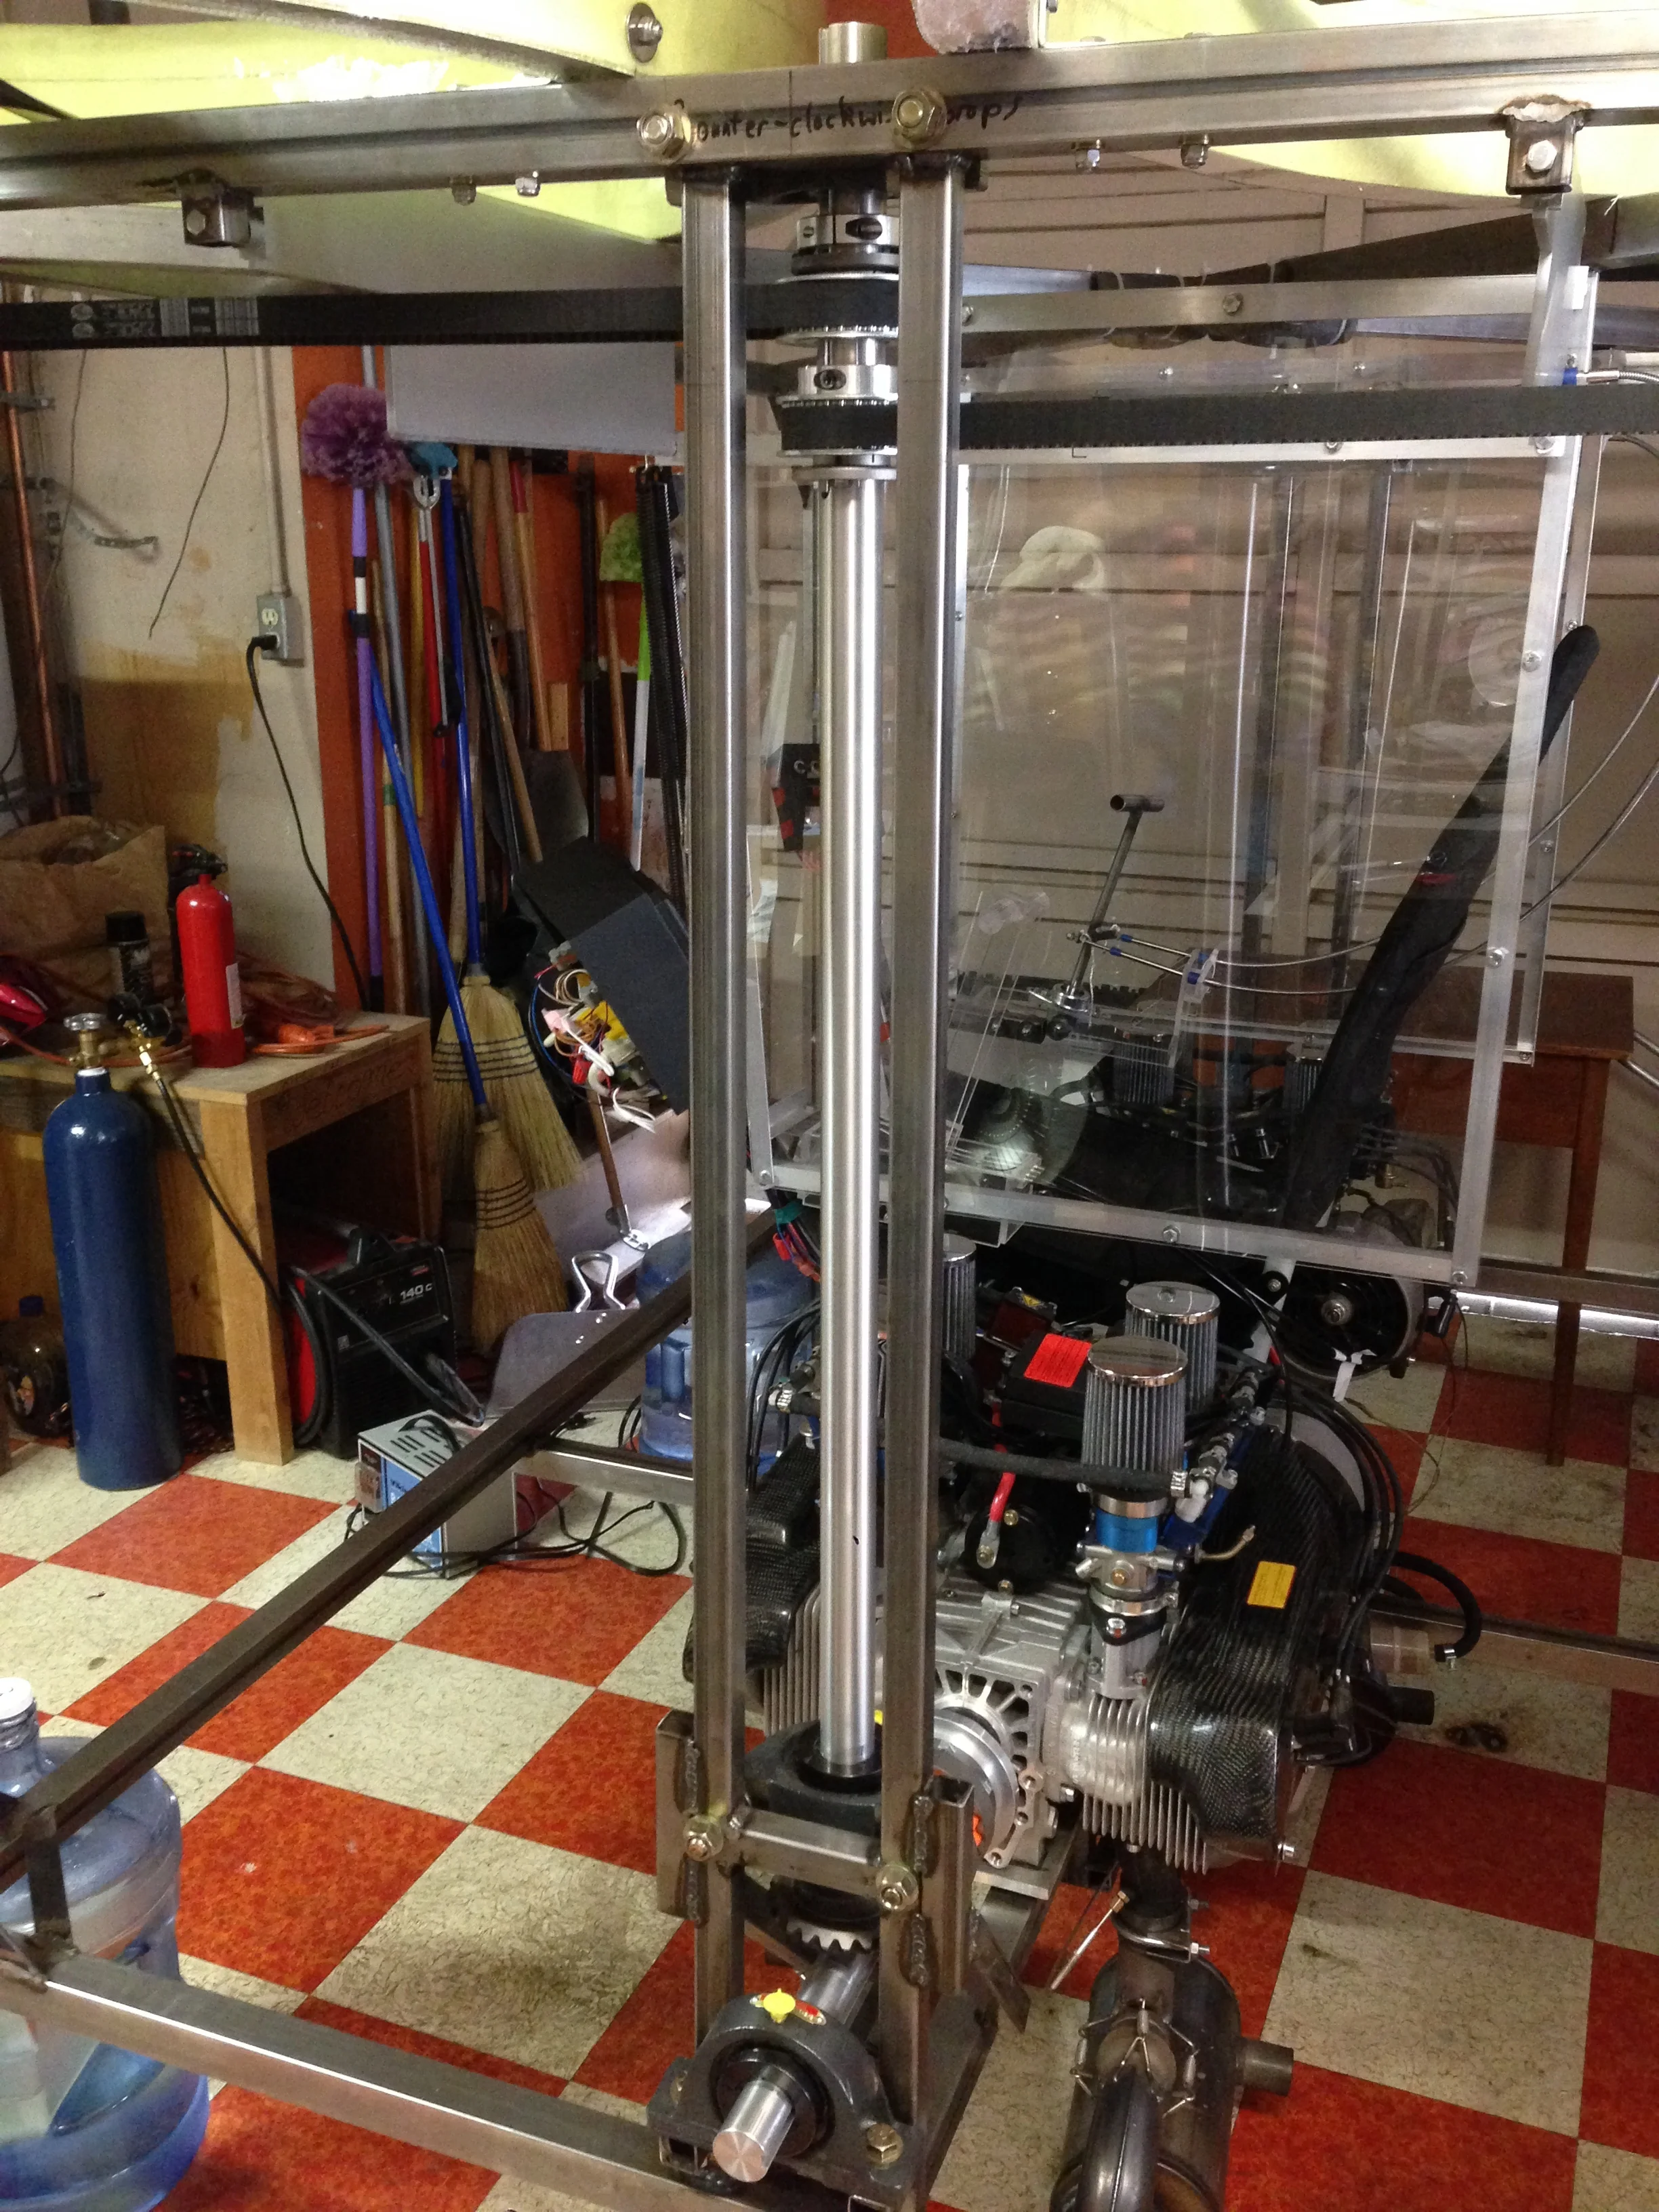
 The propellers were driven by two belts, but they never caused any problems

The propellers were driven by two belts, but they never caused any problems

 Wiring up the new control box by scavenging some components from the Mark I control box

Wiring up the new control box by scavenging some components from the Mark I control box

IMG_3124.JPG
 The electrical system was complicated to say the least

The electrical system was complicated to say the least

IMG_3157.JPG
IMG_3241.JPG
IMG_3247.JPG
IMG_3262.JPG
 The original wheels couldn't handle the weight and had to be replaced several times

The original wheels couldn't handle the weight and had to be replaced several times

 The original design wasn't strong enough for the gears, and you can see the steel tube simply bent under the pressure (it was straight before the test)

The original design wasn't strong enough for the gears, and you can see the steel tube simply bent under the pressure (it was straight before the test)

 Those magnets hold the bar in place as it's being welded

Those magnets hold the bar in place as it's being welded

IMG_3324.JPG
 View from the pilot seat of the gauges (left) and power controls (right)

View from the pilot seat of the gauges (left) and power controls (right)

IMG_3364.JPG
IMG_3386.JPG
IMG_3392.JPG
IMG_3429.JPG
IMG_3430.JPG
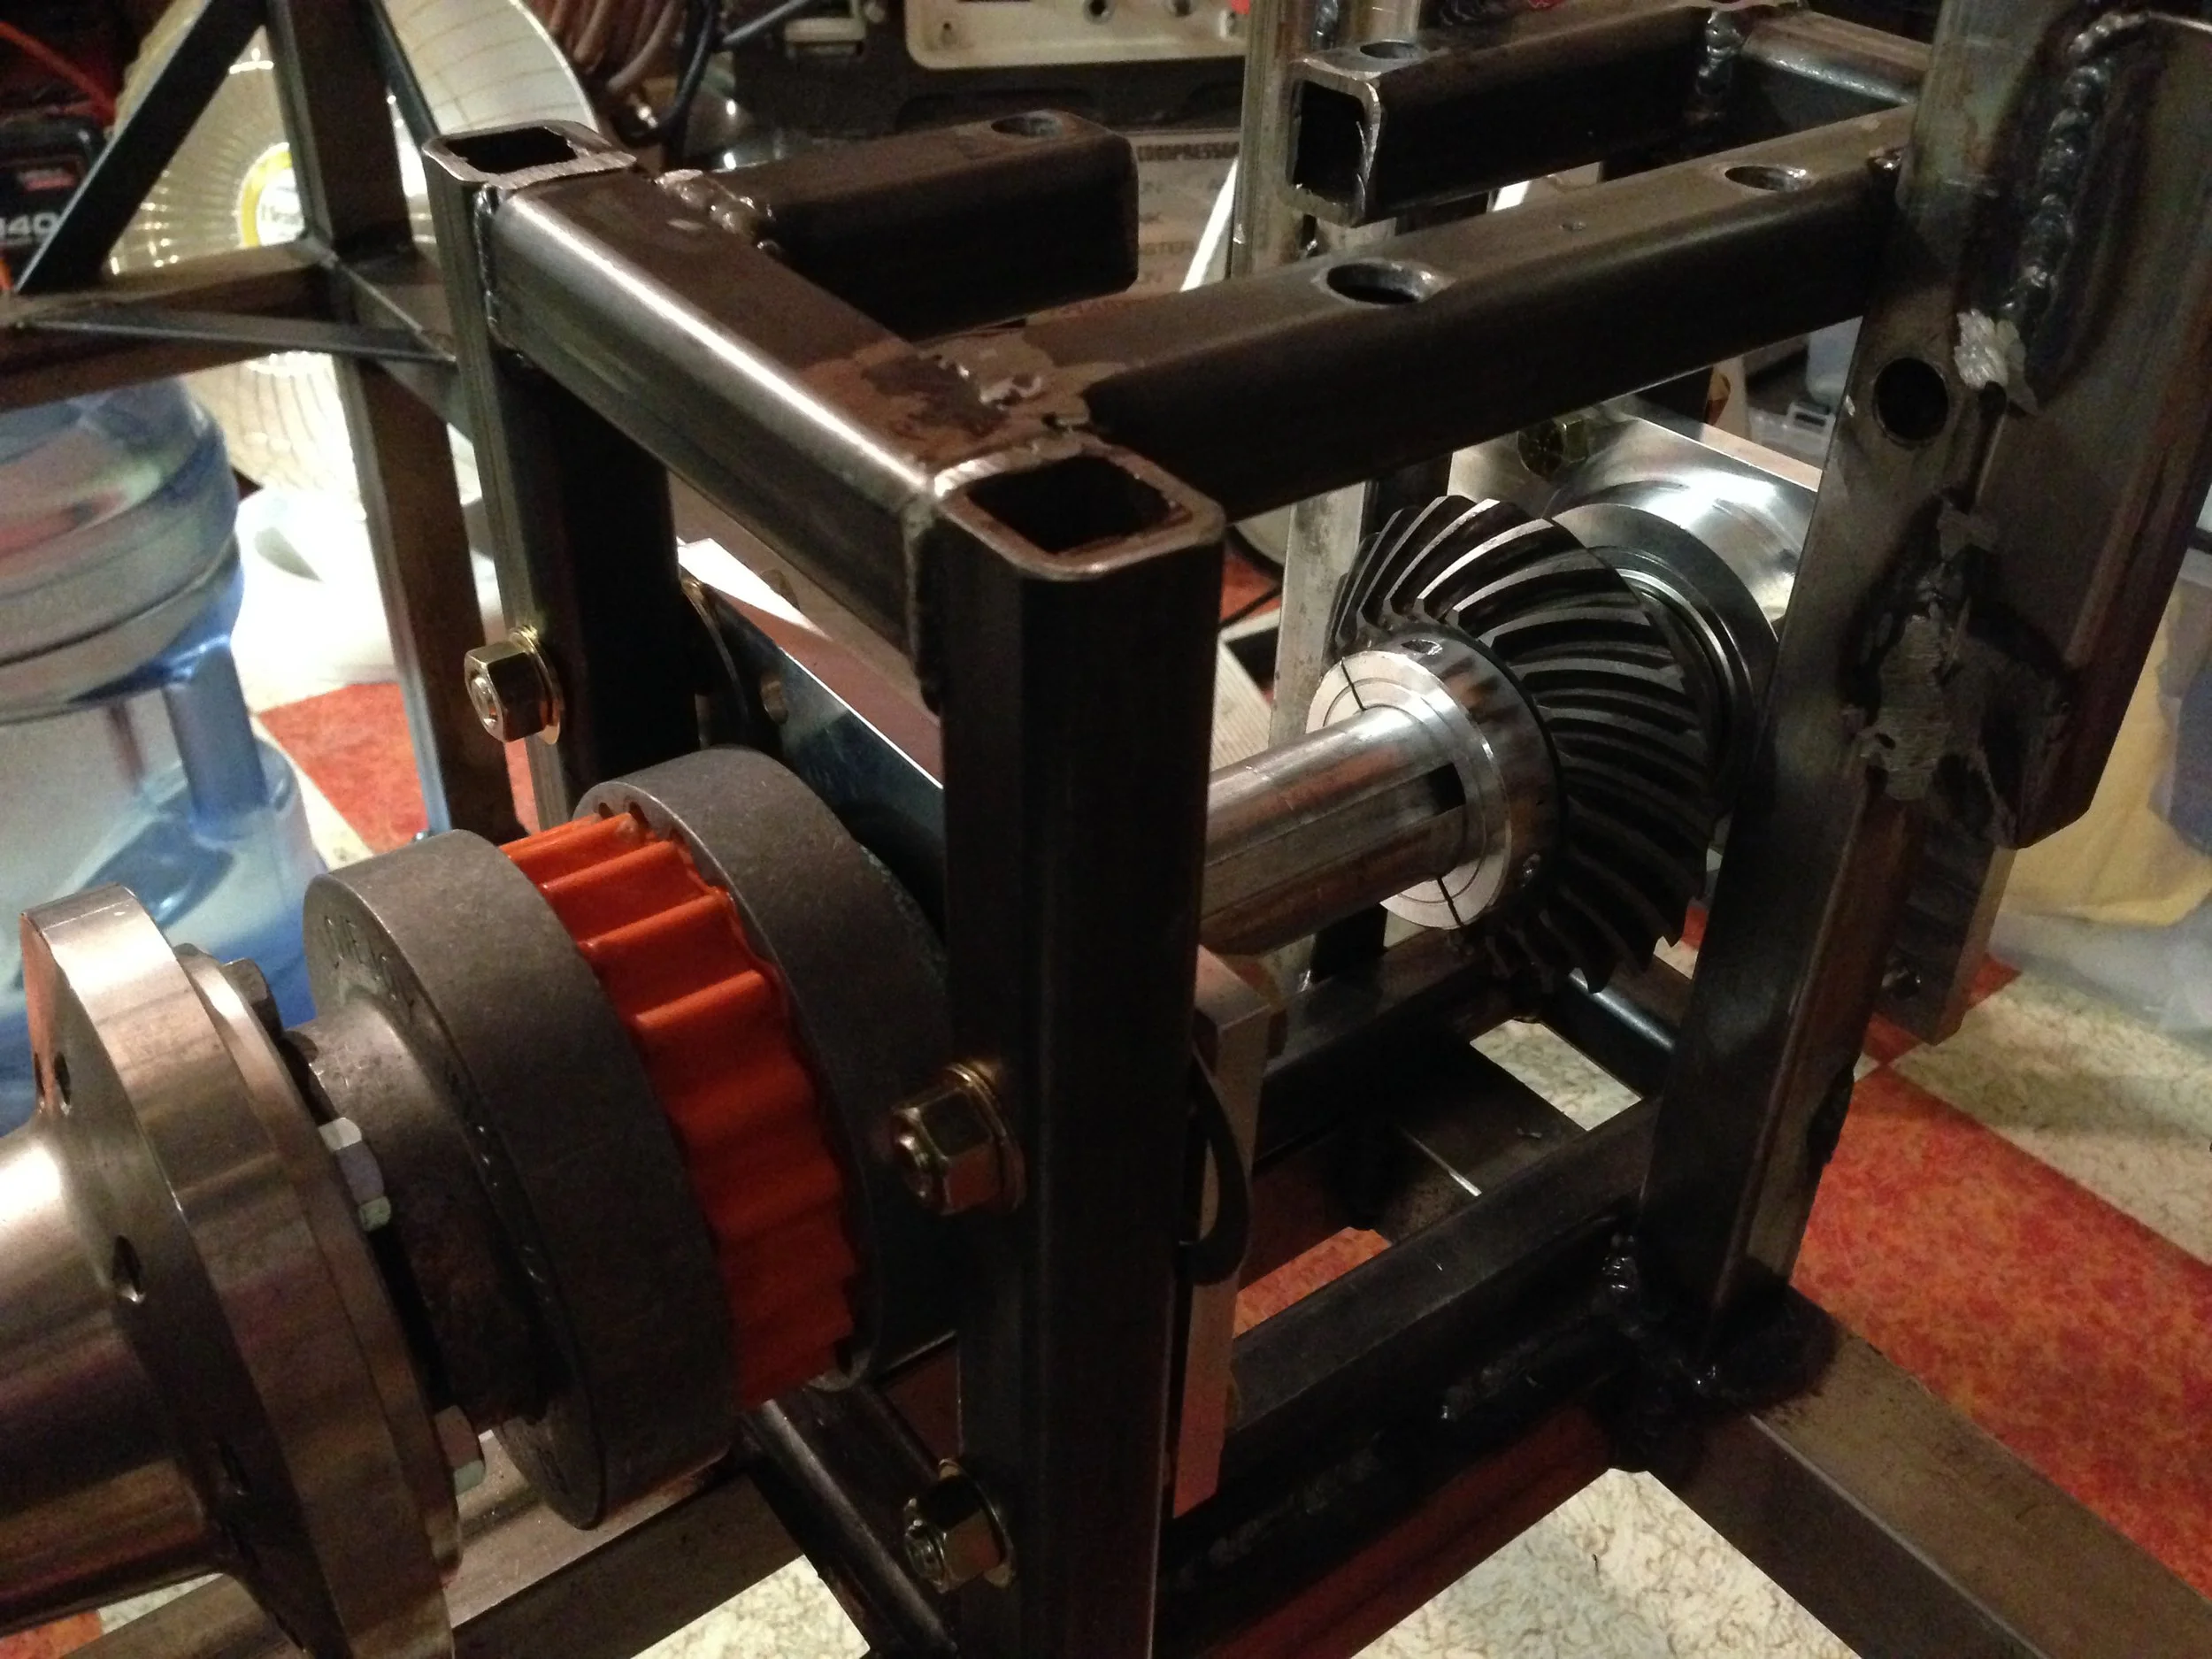
 Eventually gearboxes were made to prevent the gears from becoming misaligned

Eventually gearboxes were made to prevent the gears from becoming misaligned

IMG_3467.JPG
IMG_3503.JPG
IMG_3537.JPG
 In early tests the duct flexed and the propeller ground away the fiberglass!

In early tests the duct flexed and the propeller ground away the fiberglass!

IMG_3554.JPG
IMG_3555.JPG
 That rough area shouldn't be there - at one point the engine wasn't putting out as much power as it should have and we discovered that one of the plates holding a bearing was being ground down.  A small spacer soon took care of the problem!

That rough area shouldn't be there - at one point the engine wasn't putting out as much power as it should have and we discovered that one of the plates holding a bearing was being ground down.  A small spacer soon took care of the problem!

 At one point we tried measuring thrust while it was running, but instead it simply destroyed the scale the foot was on

At one point we tried measuring thrust while it was running, but instead it simply destroyed the scale the foot was on

IMG_3601.JPG
IMG_3617.JPG
IMG_3621.JPG
 Eventually the control flaps were also controlled by servos so the entire device could be controlled by remote

Eventually the control flaps were also controlled by servos so the entire device could be controlled by remote

IMG_3656.JPG
 The remote control servos, and the computer that controlled all the remote components

The remote control servos, and the computer that controlled all the remote components

 The Mark II remote control box - hand made from clear acrylic

The Mark II remote control box - hand made from clear acrylic

IMG_3722.JPG
 3D printed duct when glued together and mounted

3D printed duct when glued together and mounted

 3D printed duct when glued together and mounted

3D printed duct when glued together and mounted

 The 3D printed duct failed at full power and was utterly destroyed

The 3D printed duct failed at full power and was utterly destroyed

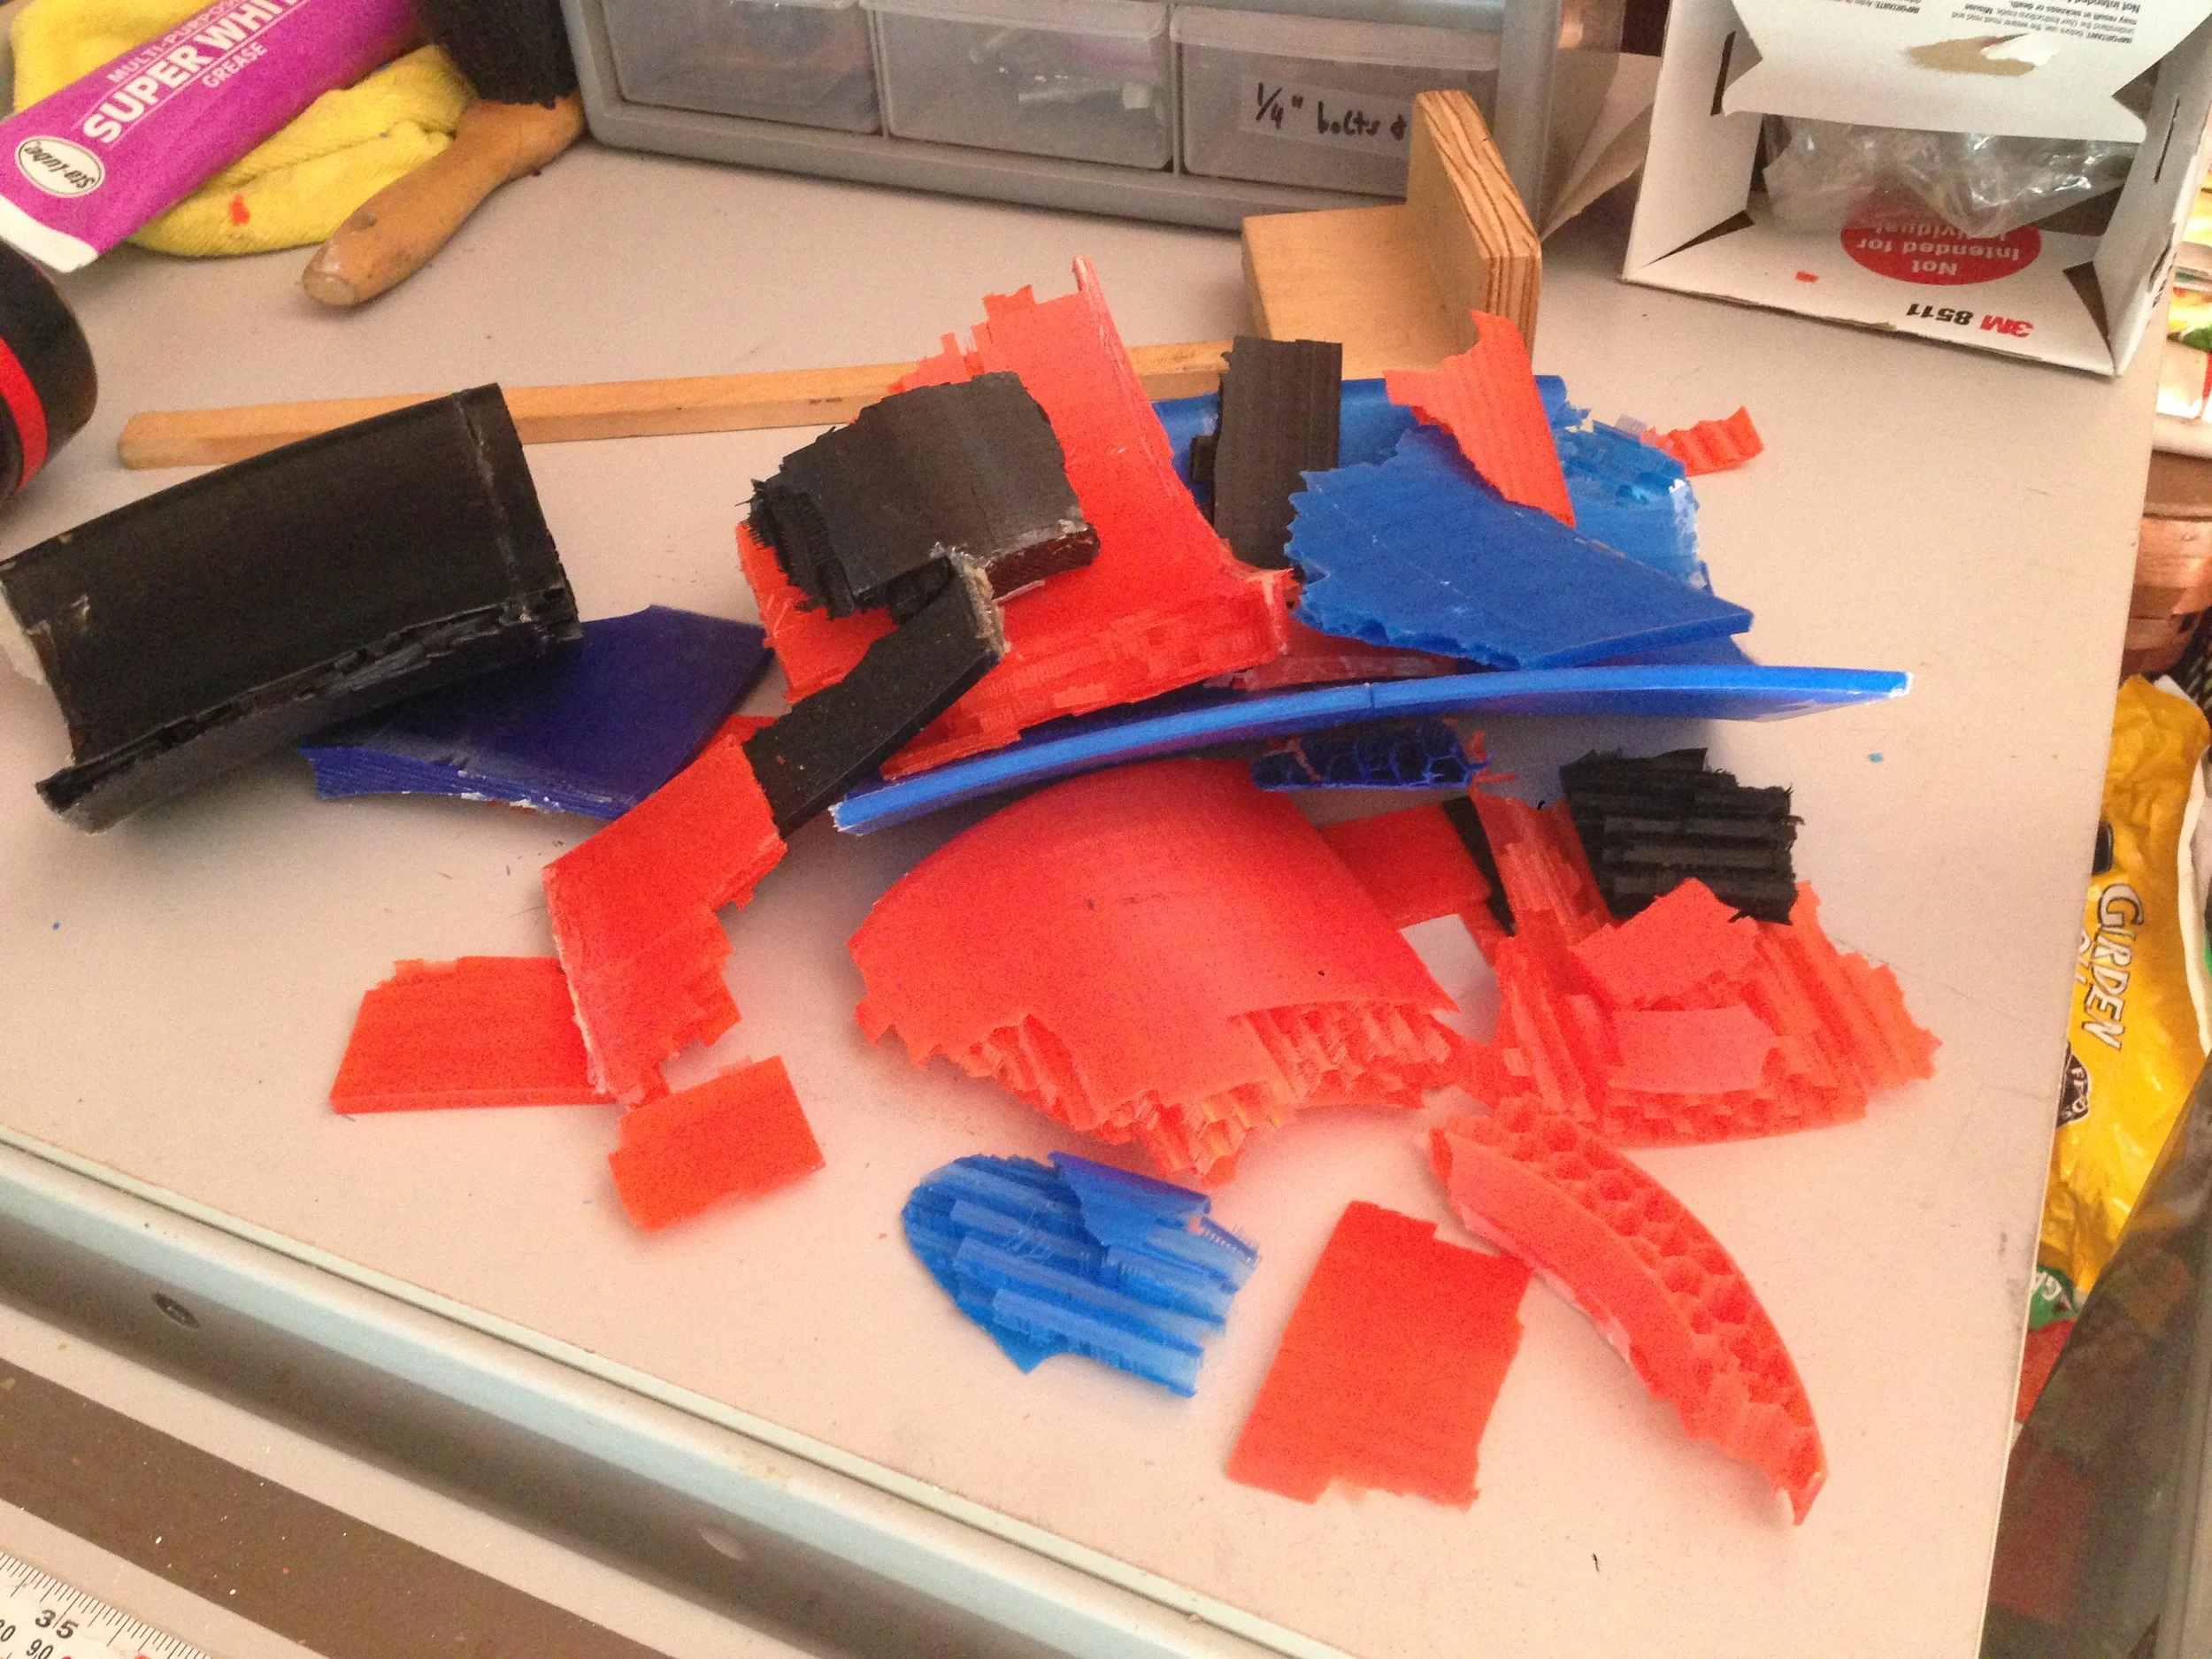
 Aftermath from the 3D printed duct exploding - there were plastic pieces everywhere...

Aftermath from the 3D printed duct exploding - there were plastic pieces everywhere...

 This is all that was left of half the duct - the rest was smashed to pieces smaller than a dime

This is all that was left of half the duct - the rest was smashed to pieces smaller than a dime

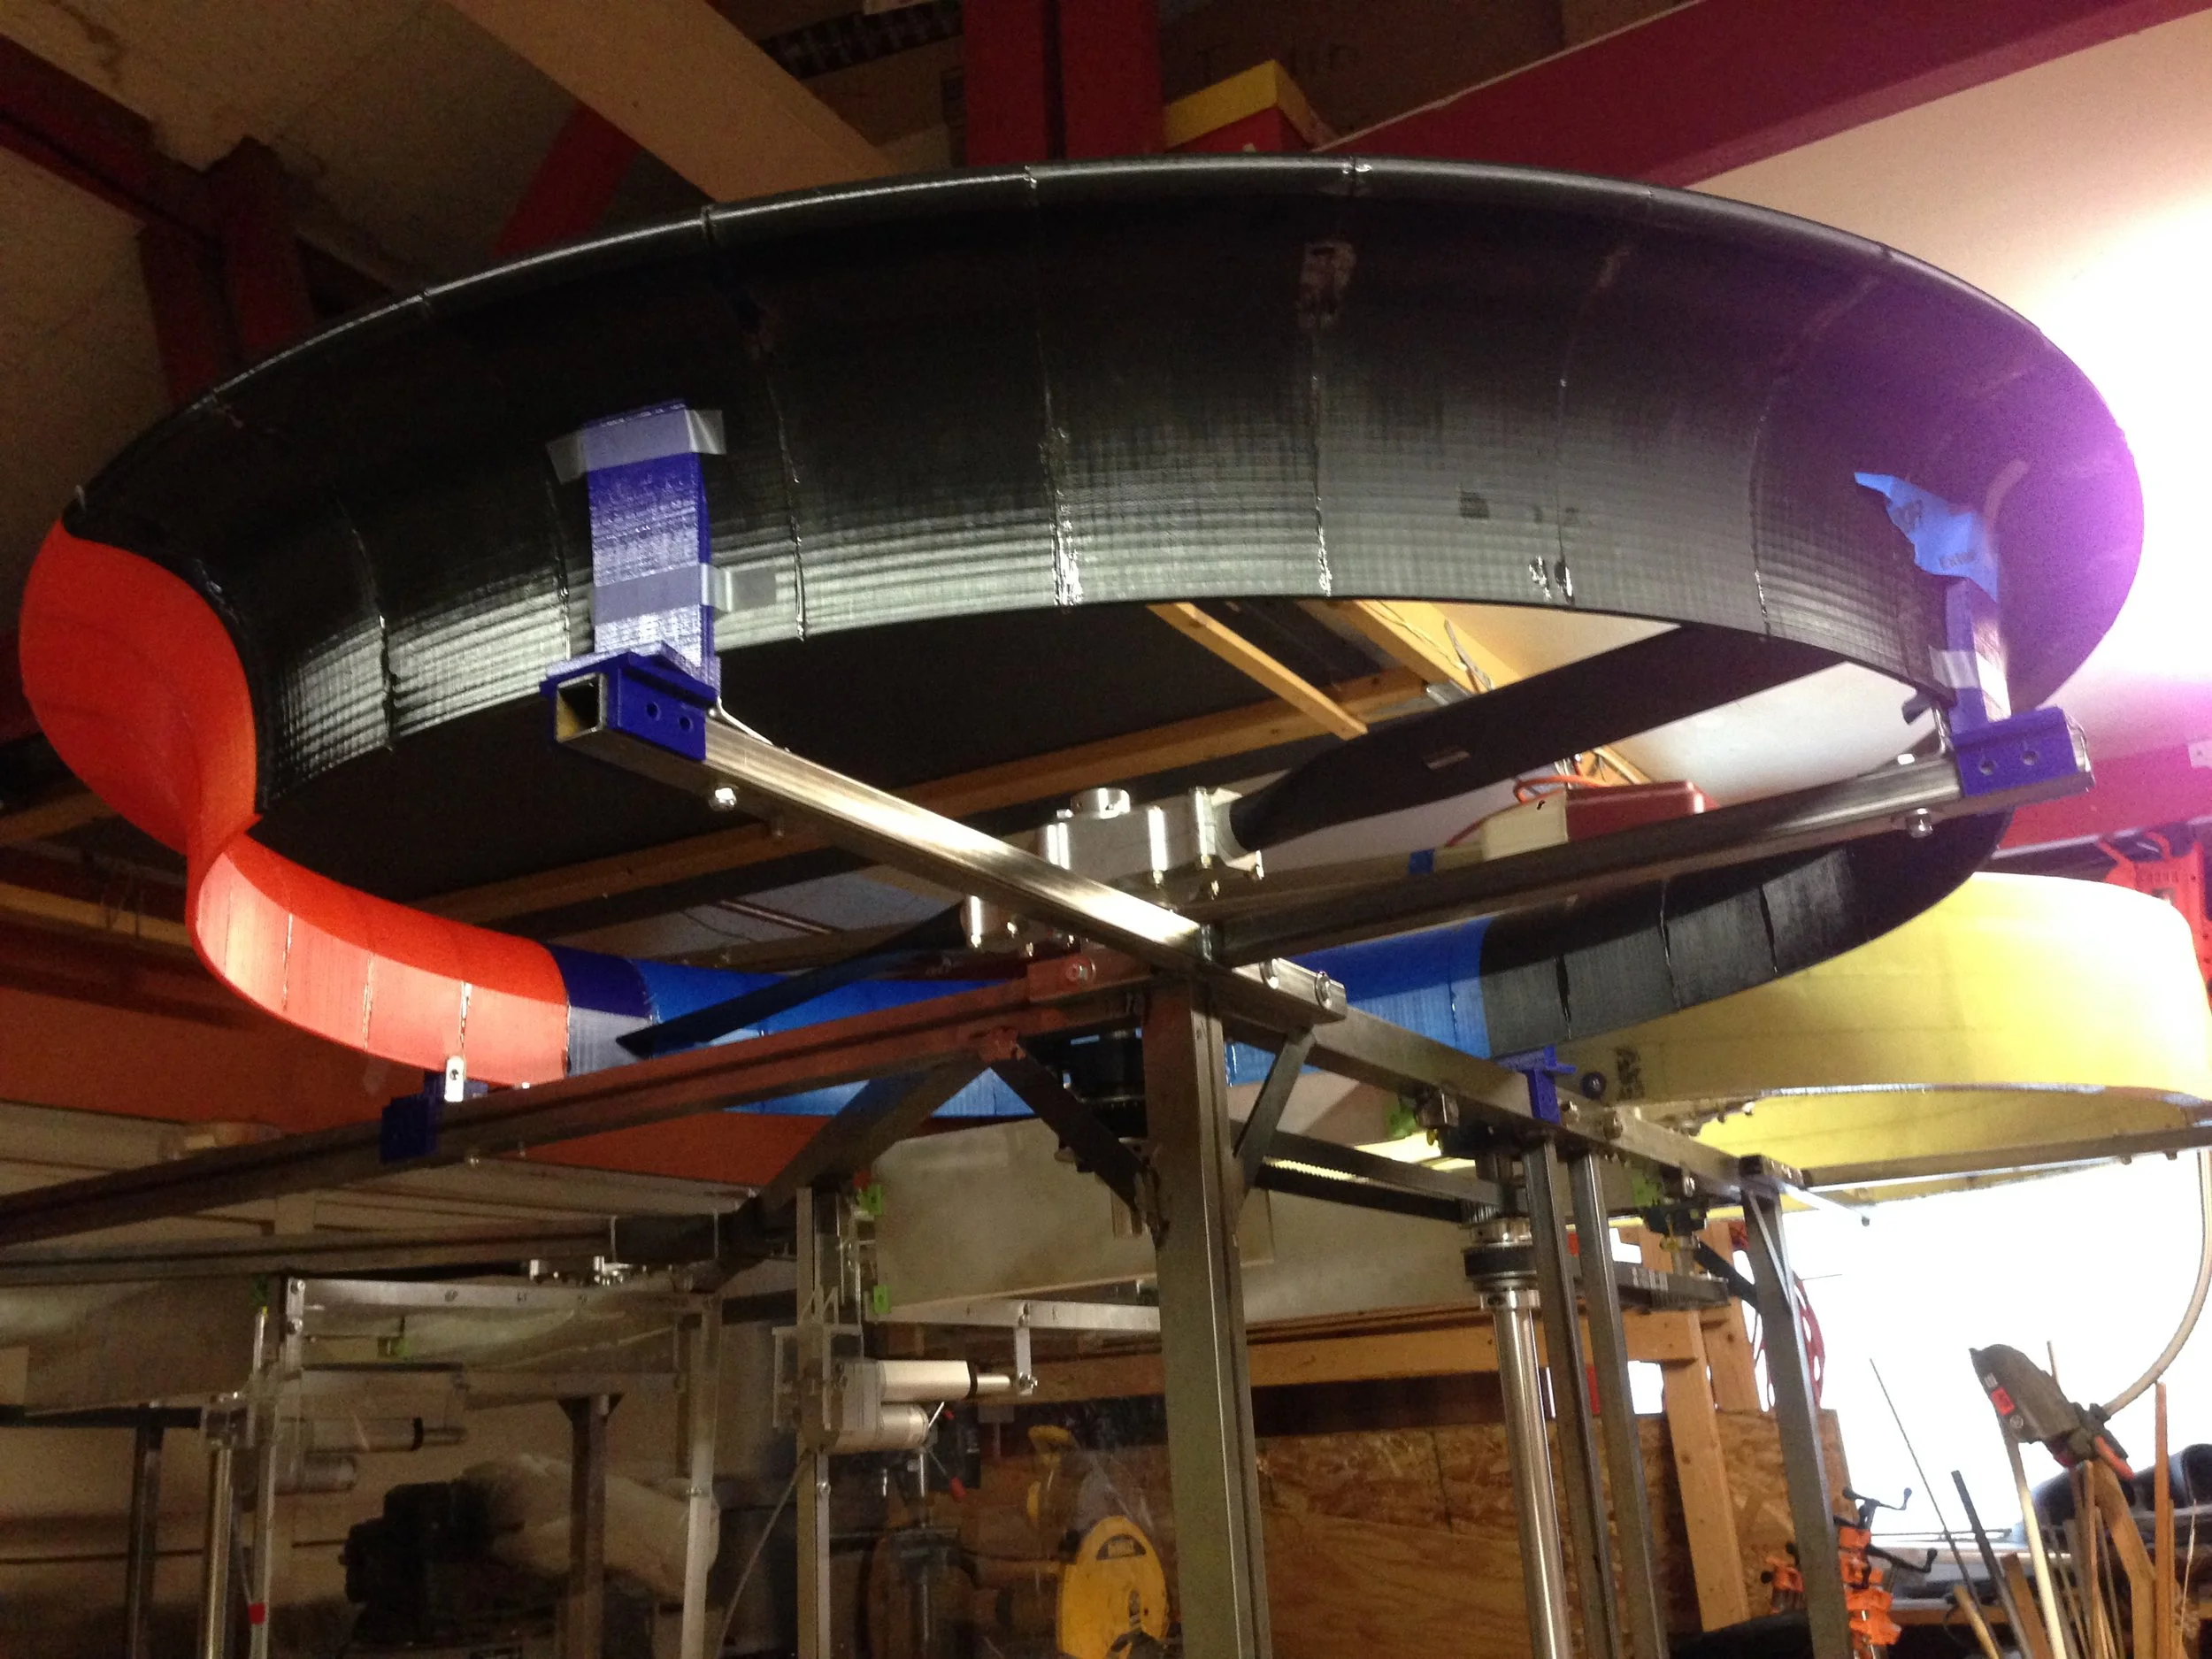
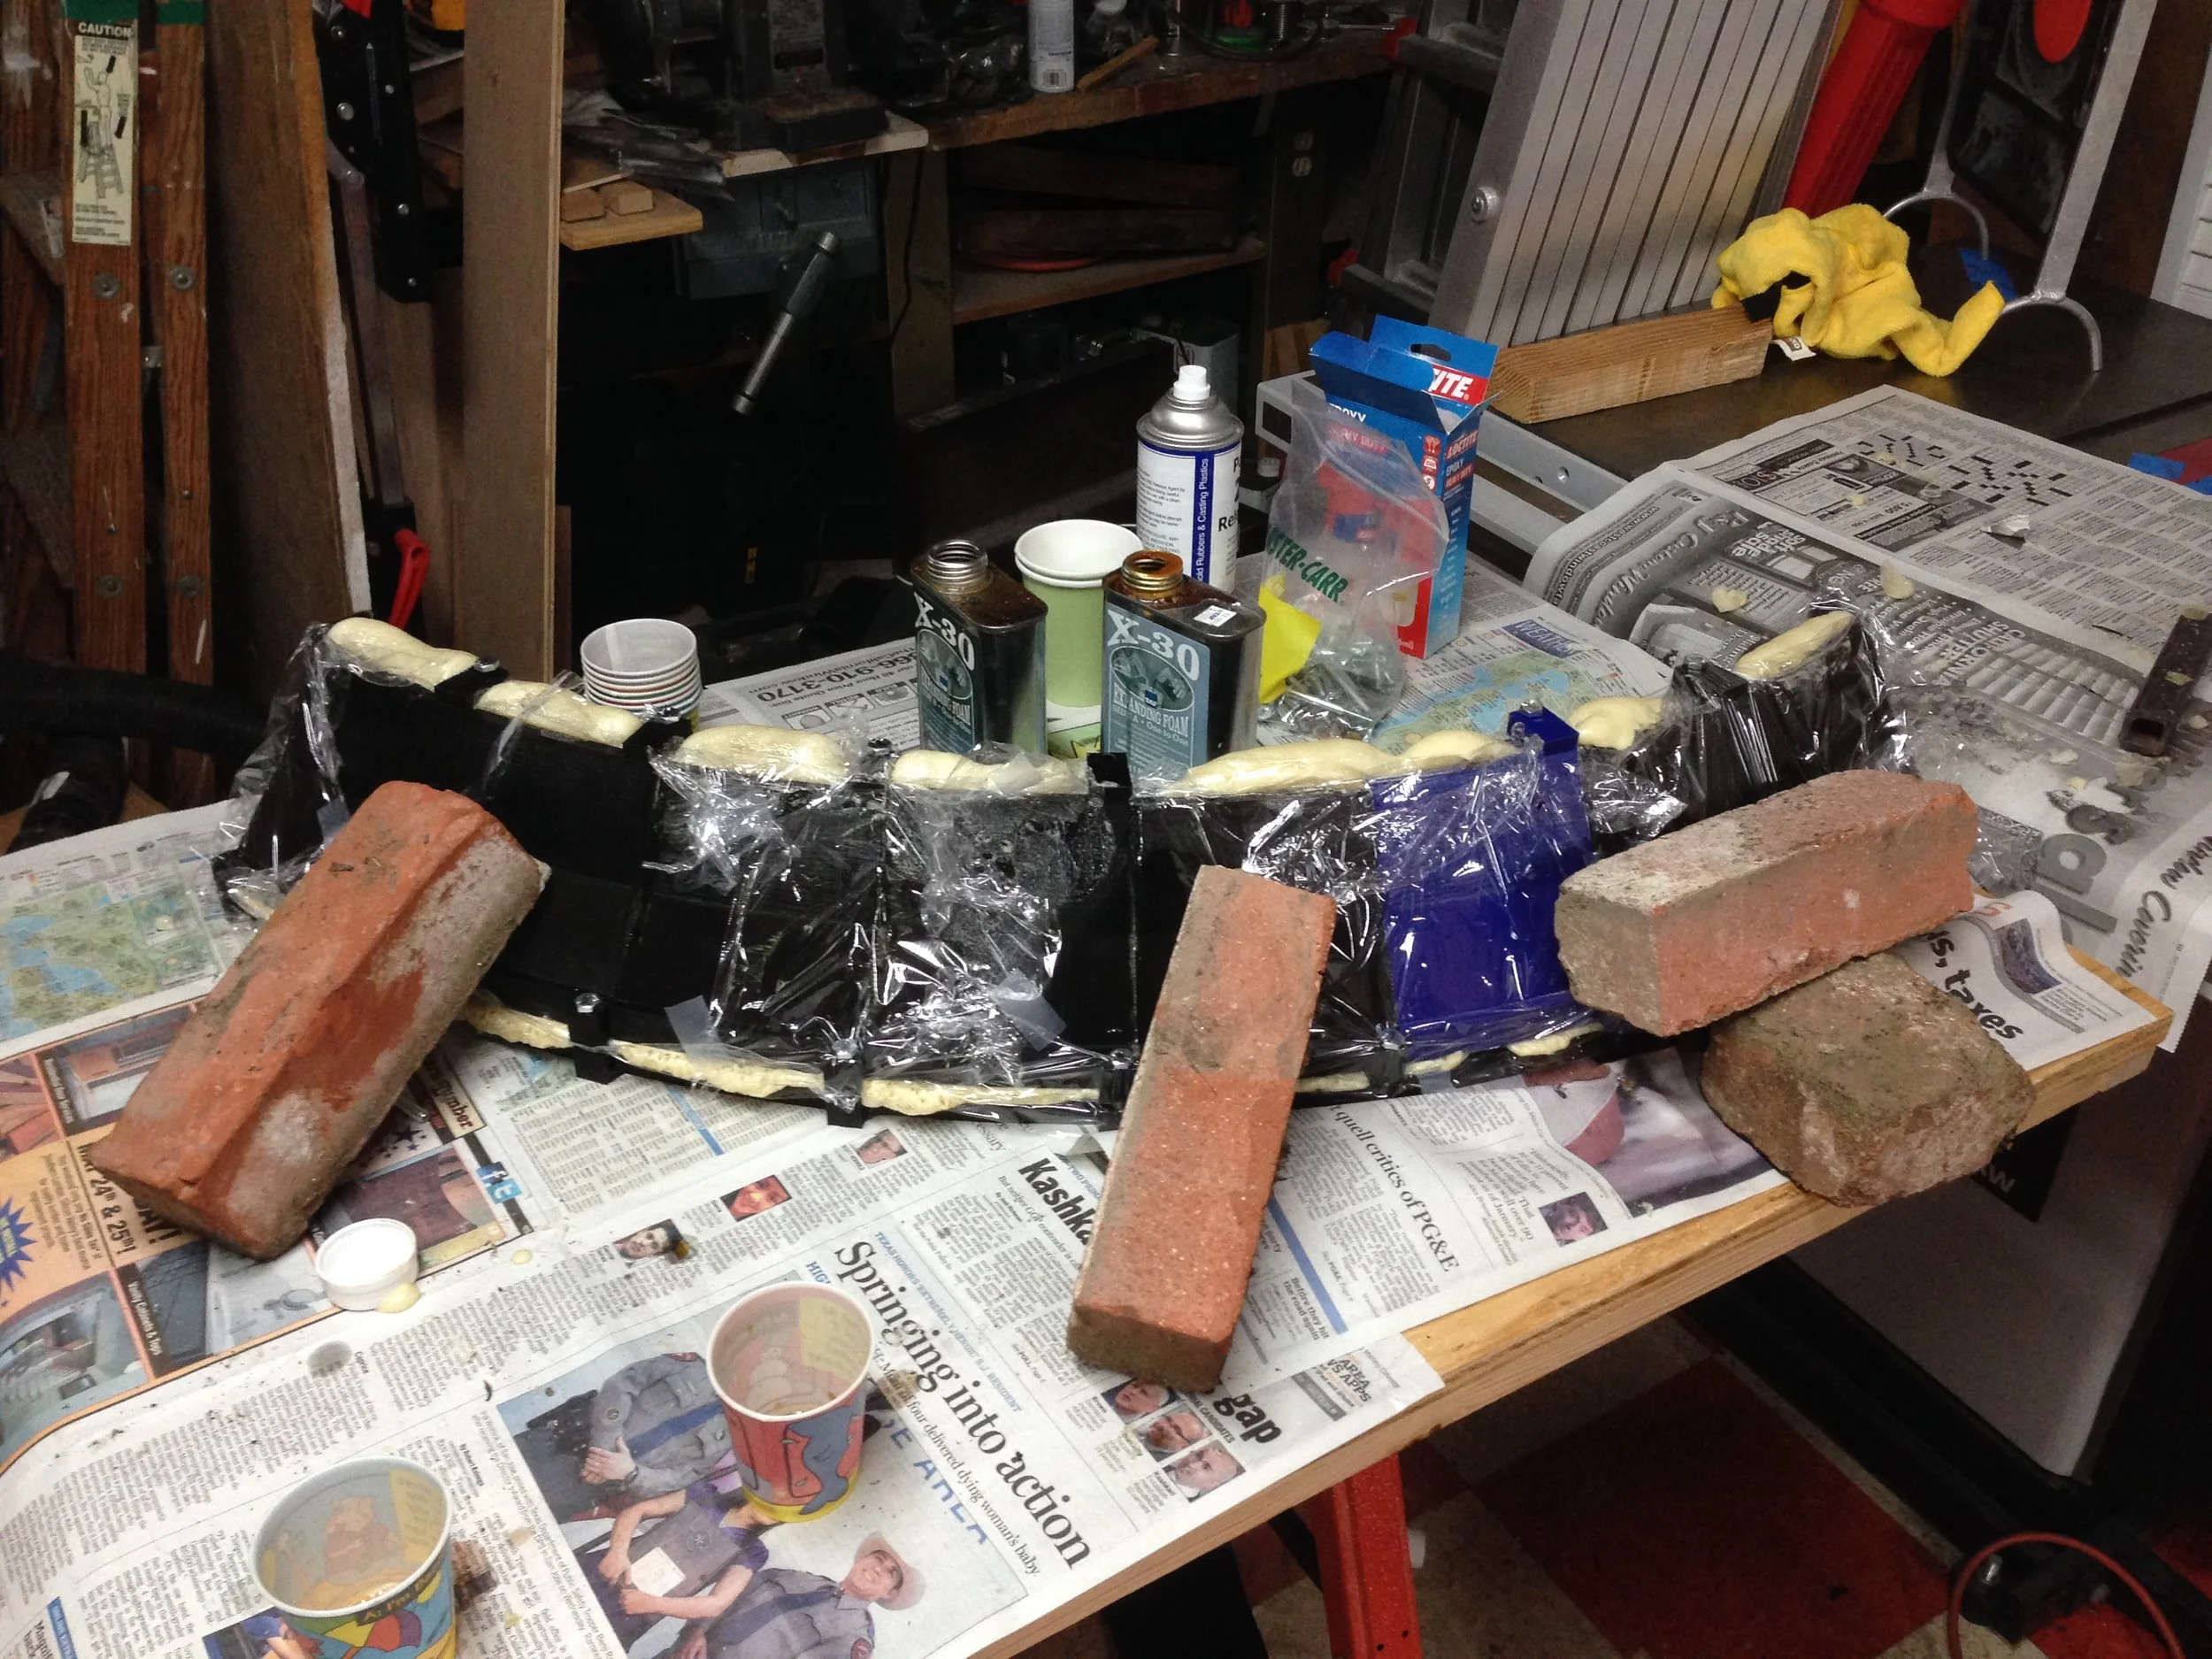
 Ducts were made by pouring expanding foam into a 3D printed mold and then fiber-glassing over it

Ducts were made by pouring expanding foam into a 3D printed mold and then fiber-glassing over it

IMG_3761.JPG
IMG_3767.JPG
IMG_3768.JPG
 Sometimes ducts didn't come out at the exact right size and a spacer was needed to widen the duct (so the propeller could fit inside!)

Sometimes ducts didn't come out at the exact right size and a spacer was needed to widen the duct (so the propeller could fit inside!)

IMG_3774.JPG
IMG_3775.JPG
IMG_3801.JPG
IMG_3802.JPG
IMG_3814.JPG
 Each side has various power switches and start/stop buttons for the engines

Each side has various power switches and start/stop buttons for the engines

 Pieces of a towel that was shredded on the first successful test

Pieces of a towel that was shredded on the first successful test

IMG_3896.JPG
 This was what remained of a full-size bath towel that went through a propeller

This was what remained of a full-size bath towel that went through a propeller

1 2 3 4 5 6 7 8 9 10 11 12 13 14 15 16 17 18 19 20 21 22 23 24 25 26 27 28 29 30 31 32 33 34 35 36 37 38 39 40 41 42 43 44 45 46 47 48 49 50 51 52 53 54 55 56 57 58 59 60 61 62 63 64 65
Previous Next
IMG_4075.JPG
IMG_4078.JPG
IMG_3902.JPG
IMG_4080.JPG
IMG_4046.JPG
IMG_4081.JPG
IMG_2810.JPG
IMG_2882.JPG
 Second aircraft engine being unpacked
 The engines needed to be run for a little over 5 hours before they were ready for use.  Here we are breaking the engine in on the Mark I frame.
 A 105hp engine puts out a lot of wind when it's running
 The propellers were driven by two belts, but they never caused any problems
 Wiring up the new control box by scavenging some components from the Mark I control box
IMG_3124.JPG
 The electrical system was complicated to say the least
IMG_3157.JPG
IMG_3241.JPG
IMG_3247.JPG
IMG_3262.JPG
 The original wheels couldn't handle the weight and had to be replaced several times
 The original design wasn't strong enough for the gears, and you can see the steel tube simply bent under the pressure (it was straight before the test)
 Those magnets hold the bar in place as it's being welded
IMG_3324.JPG
 View from the pilot seat of the gauges (left) and power controls (right)
IMG_3364.JPG
IMG_3386.JPG
IMG_3392.JPG
IMG_3429.JPG
IMG_3430.JPG
 Eventually gearboxes were made to prevent the gears from becoming misaligned
IMG_3467.JPG
IMG_3503.JPG
IMG_3537.JPG
 In early tests the duct flexed and the propeller ground away the fiberglass!
IMG_3554.JPG
IMG_3555.JPG
 That rough area shouldn't be there - at one point the engine wasn't putting out as much power as it should have and we discovered that one of the plates holding a bearing was being ground down.  A small spacer soon took care of the problem!
 At one point we tried measuring thrust while it was running, but instead it simply destroyed the scale the foot was on
IMG_3601.JPG
IMG_3617.JPG
IMG_3621.JPG
 Eventually the control flaps were also controlled by servos so the entire device could be controlled by remote
IMG_3656.JPG
 The remote control servos, and the computer that controlled all the remote components
 The Mark II remote control box - hand made from clear acrylic
IMG_3722.JPG
 3D printed duct when glued together and mounted
 3D printed duct when glued together and mounted
 The 3D printed duct failed at full power and was utterly destroyed
 Aftermath from the 3D printed duct exploding - there were plastic pieces everywhere...
 This is all that was left of half the duct - the rest was smashed to pieces smaller than a dime
 Ducts were made by pouring expanding foam into a 3D printed mold and then fiber-glassing over it
IMG_3761.JPG
IMG_3767.JPG
IMG_3768.JPG
 Sometimes ducts didn't come out at the exact right size and a spacer was needed to widen the duct (so the propeller could fit inside!)
IMG_3774.JPG
IMG_3775.JPG
IMG_3801.JPG
IMG_3802.JPG
IMG_3814.JPG
 Each side has various power switches and start/stop buttons for the engines
 Pieces of a towel that was shredded on the first successful test
IMG_3896.JPG
 This was what remained of a full-size bath towel that went through a propeller
 
Contact Us