Flyt™
About Us Defender UAV VTOL
Red Hummingbird Photos and video Contact
About UsDefender UAVVTOL
Flyt™
The future of transportation
Red HummingbirdPhotos and videoContact
IMG_7081.JPG
IMG_7074.JPG
IMG_7063.JPG
IMG_7086.JPG
IMG_7084.JPG
IMG_7069.JPG
IMG_7073.JPG
IMG_7080.JPG
IMG_7065.JPG
IMG_7087.JPG
 Almost this entire spool of 1/0 gauge cable was used to move power around the Mark III - roughly 40-45lbs in total

Almost this entire spool of 1/0 gauge cable was used to move power around the Mark III - roughly 40-45lbs in total

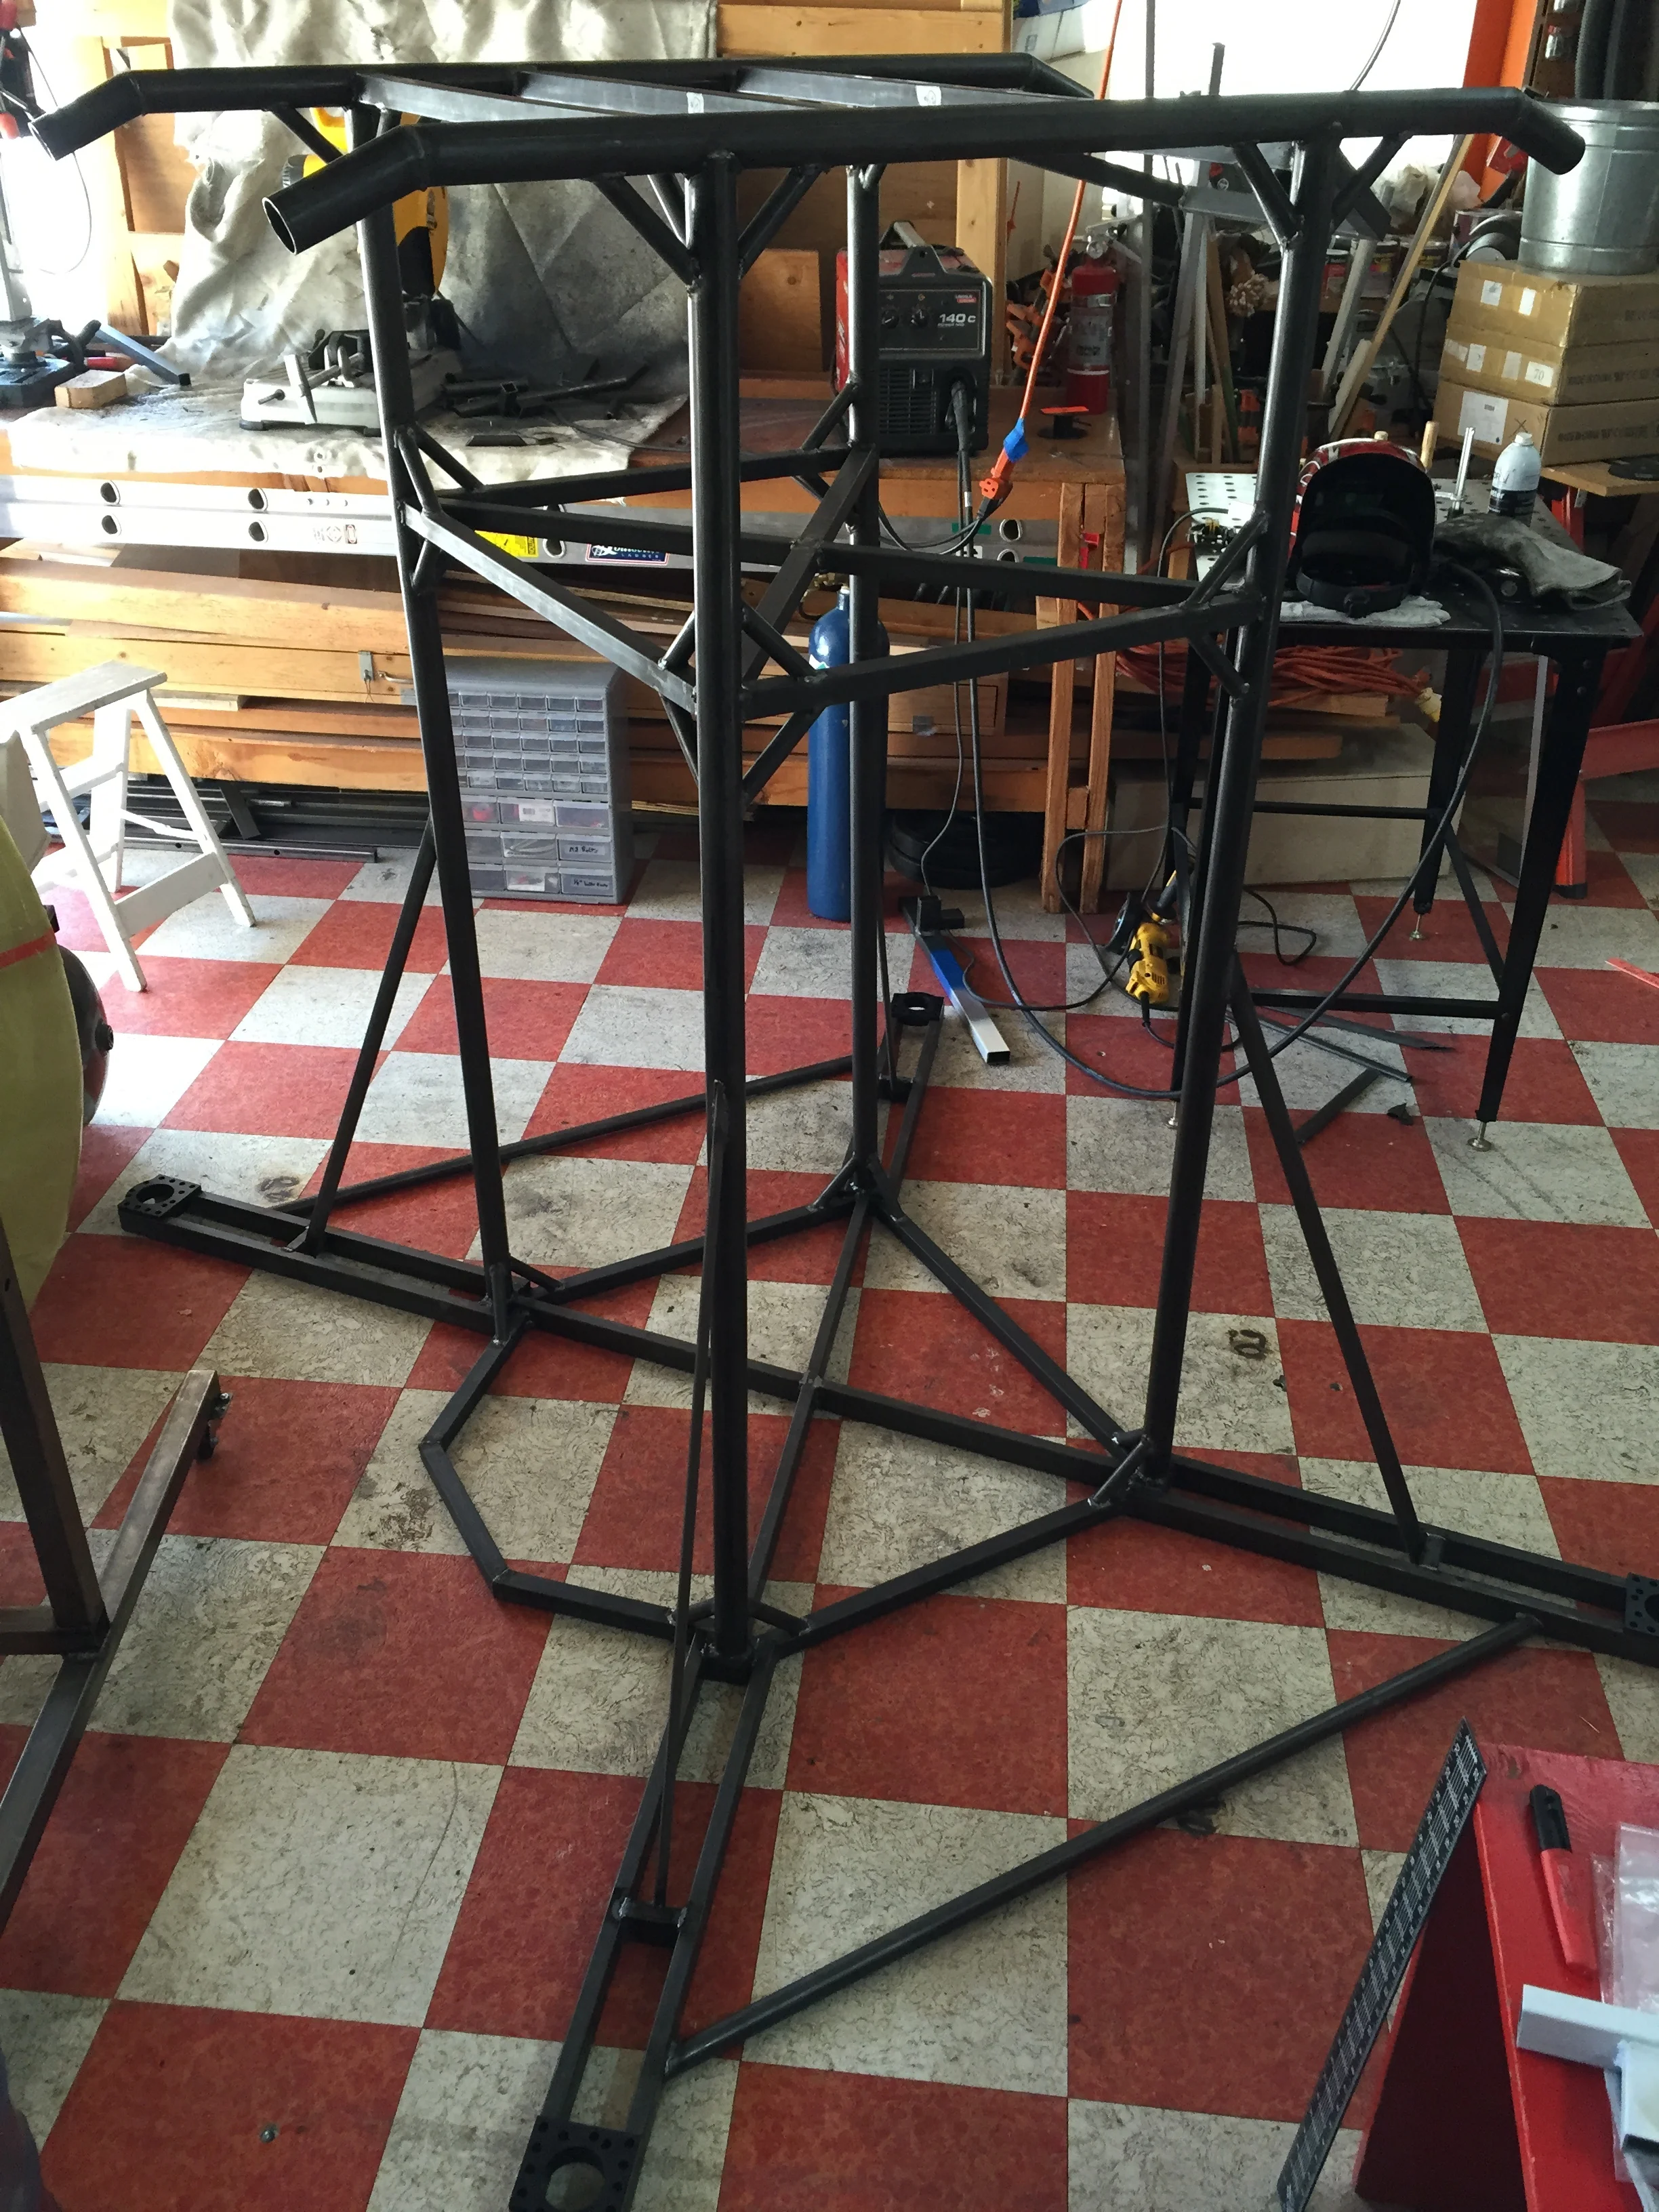
 The steel bars for the top portion cut and labeled, ready for welding!  In case you're wondering, it's 4130 steel, which is a special grade that's higher strength and lower weight than regular mild steel.

The steel bars for the top portion cut and labeled, ready for welding!  In case you're wondering, it's 4130 steel, which is a special grade that's higher strength and lower weight than regular mild steel.

 Start of the welding!

Start of the welding!

IMG_5239.JPG
 This was the CAD mock-up of the Mark III for how it was designed before any metal was bought

This was the CAD mock-up of the Mark III for how it was designed before any metal was bought

 The CAD mock-up of the Mark III - top view

The CAD mock-up of the Mark III - top view

 The CAD mock-up of the Mark III

The CAD mock-up of the Mark III

 String and cardboard was used (very high-tech) to visualize several options for the protective shielding

String and cardboard was used (very high-tech) to visualize several options for the protective shielding

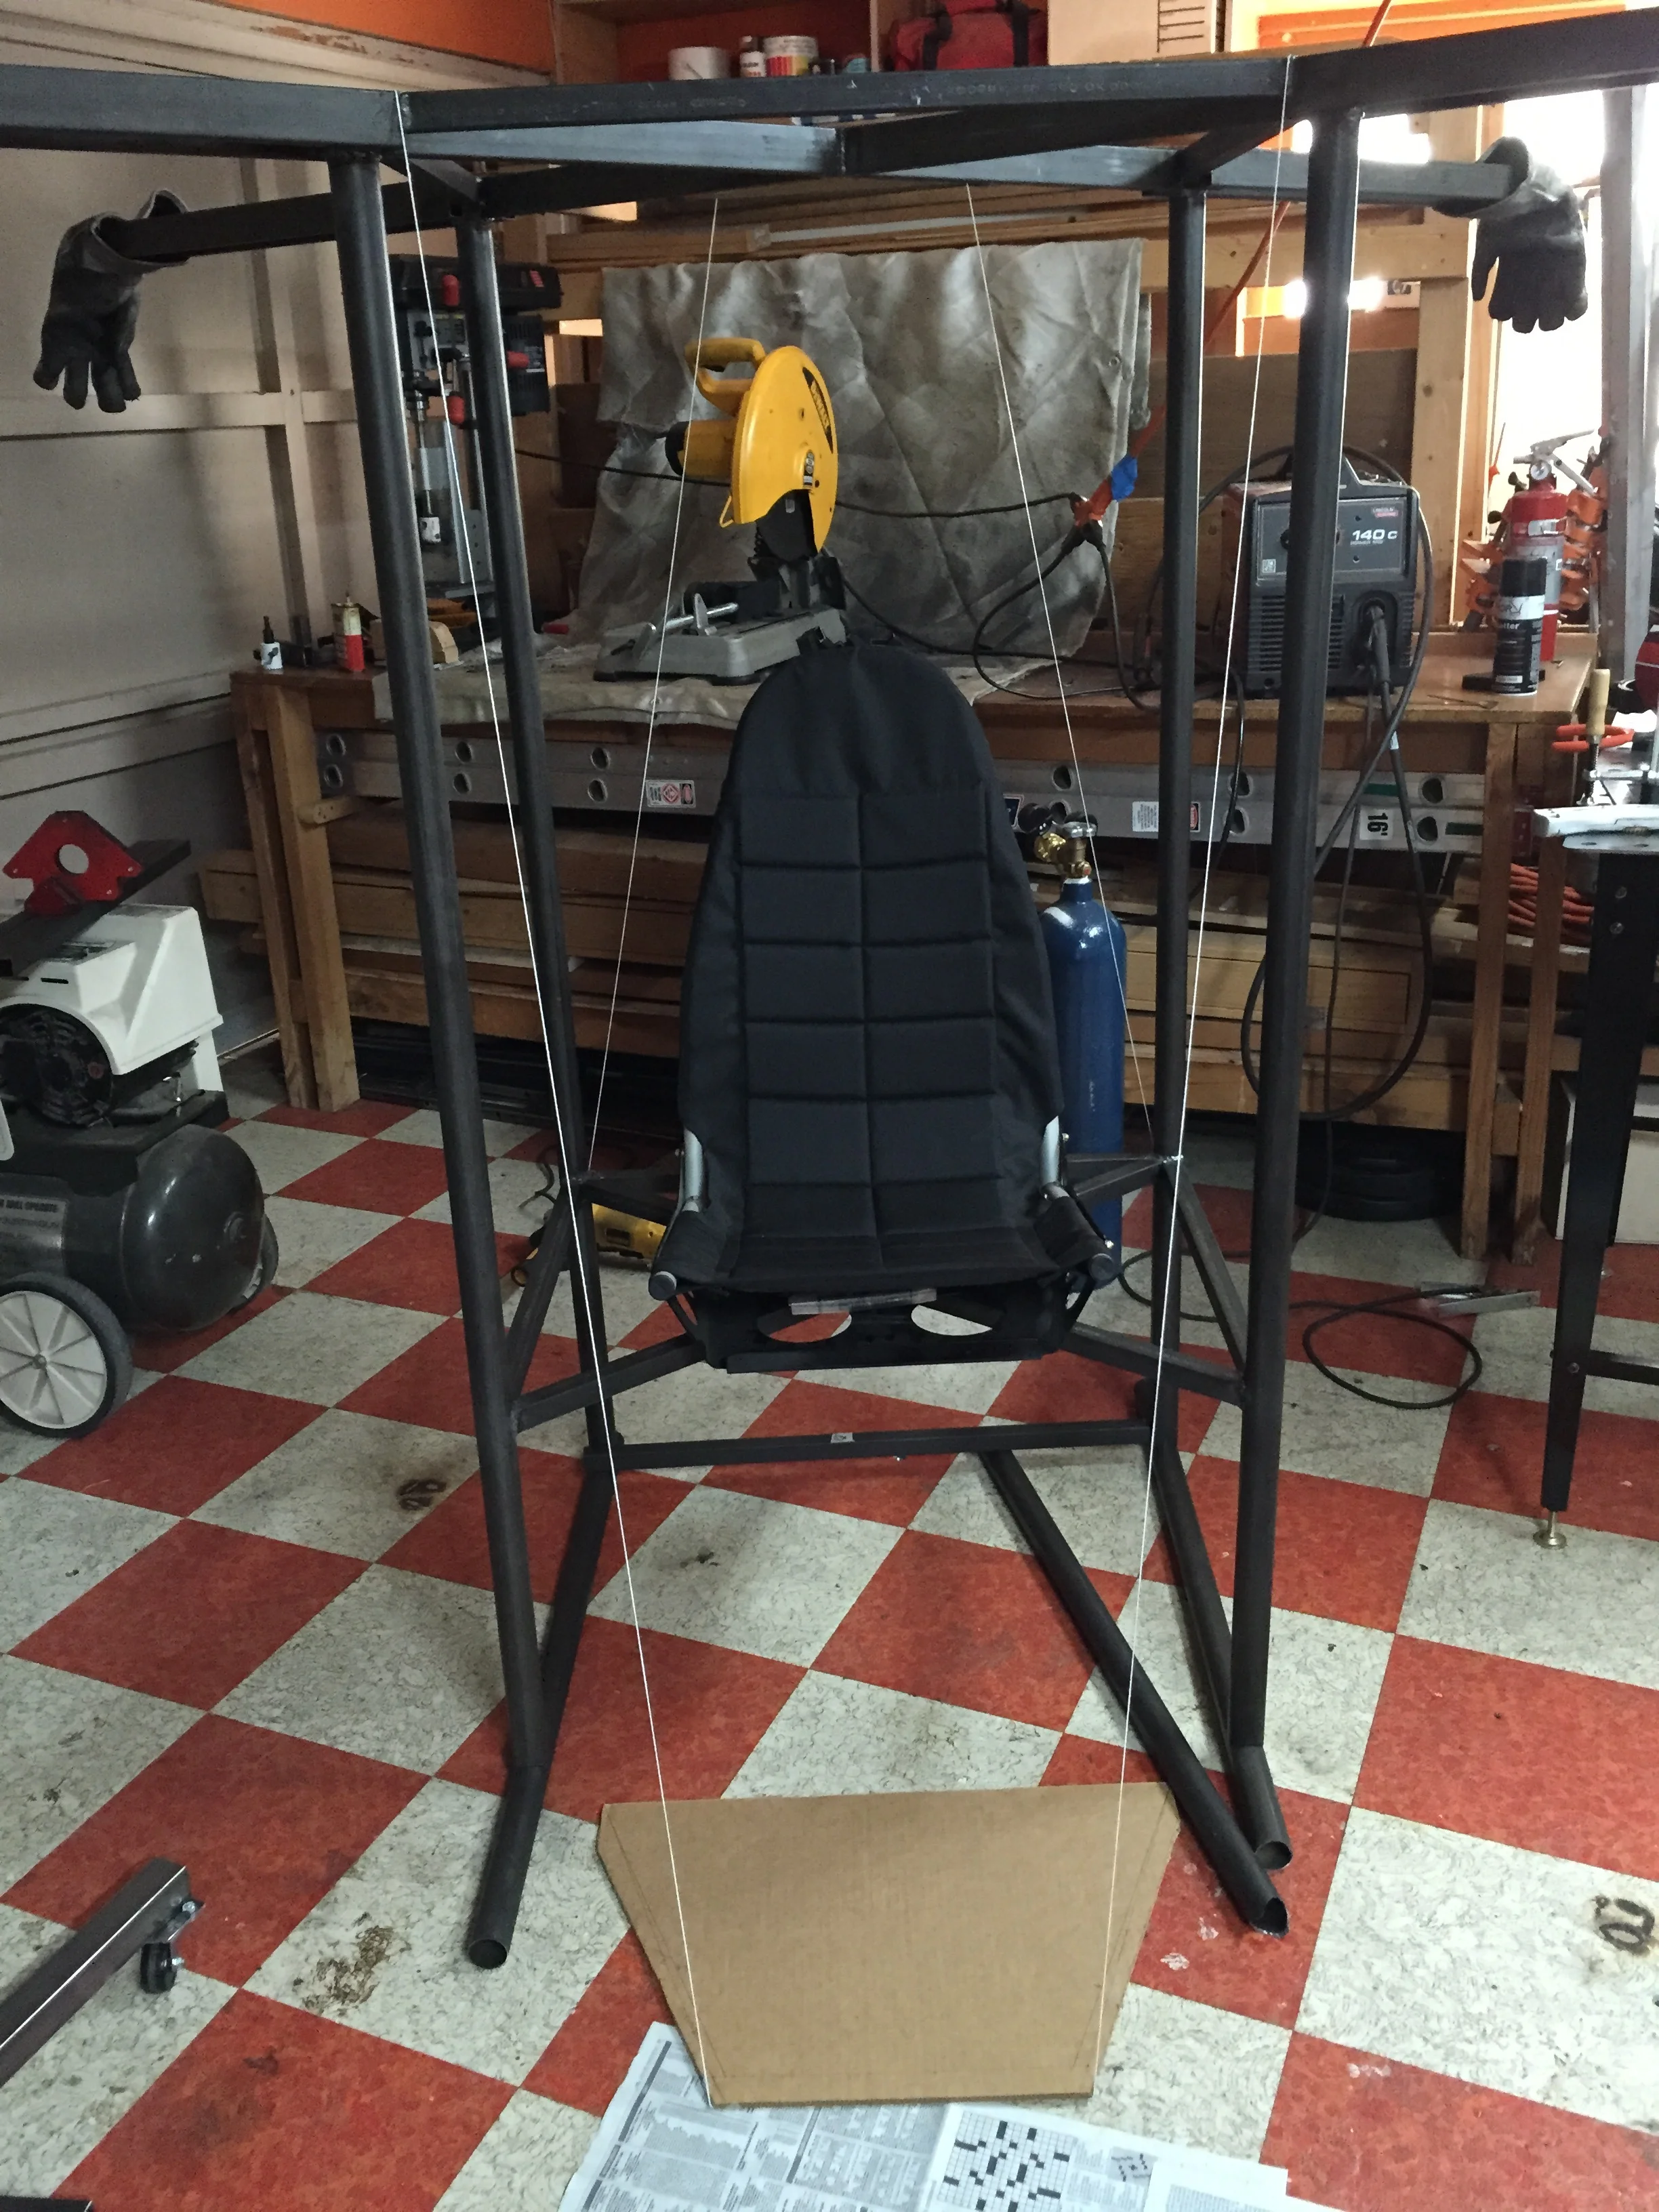
 Testing the chair positioning with string to make sure the pilot's head wouldn't be hitting the back panel

Testing the chair positioning with string to make sure the pilot's head wouldn't be hitting the back panel

IMG_5325.JPG
IMG_5336.JPG
IMG_5358.JPG
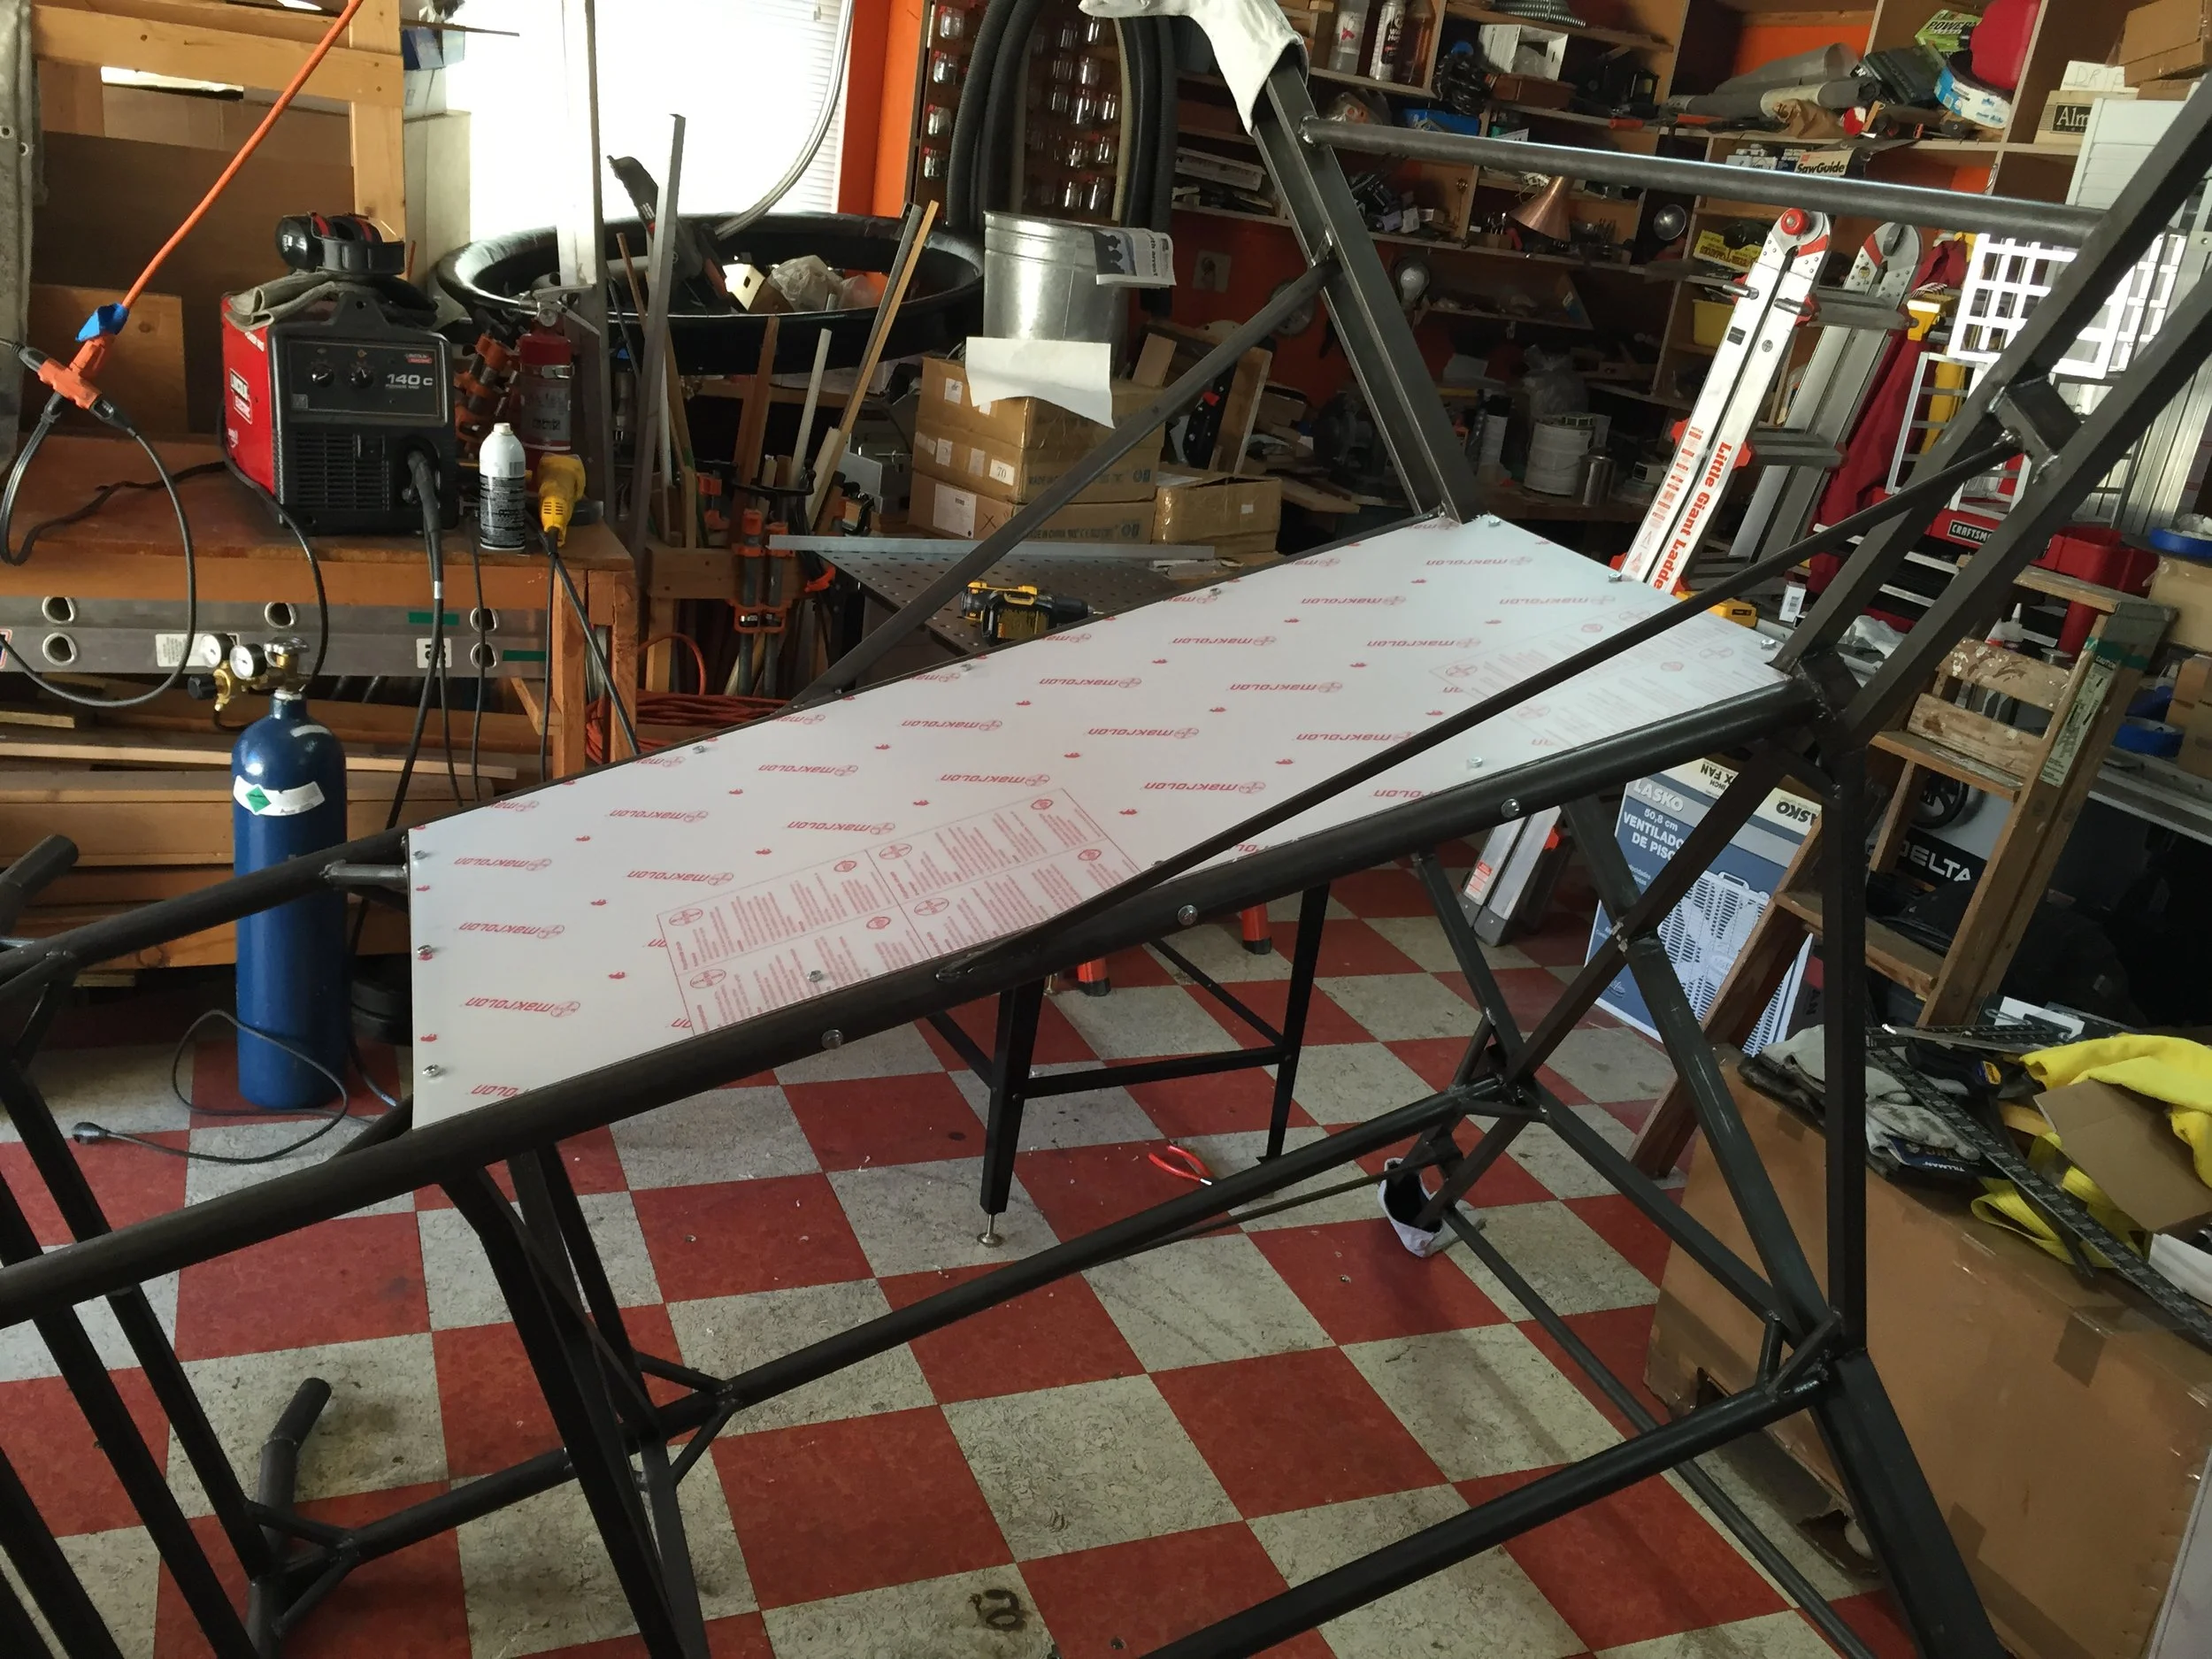
 Cutting and drilling the safety panels

Cutting and drilling the safety panels

IMG_5397.JPG
 Our commitment extends to safety - including eye, ear, and lung protection during construction.  Sadly, it's really hot and stuffy when you wear all this.  

Our commitment extends to safety - including eye, ear, and lung protection during construction.  Sadly, it's really hot and stuffy when you wear all this.
 

 The back panel was the most complex to build due to the 3D geometry

The back panel was the most complex to build due to the 3D geometry

IMG_5417.JPG
IMG_5419.JPG
 We tried to use the Thrust Testing Rig to shape and cut the ducts by spinning Styrofoam.  All it did was make a mess.

We tried to use the Thrust Testing Rig to shape and cut the ducts by spinning Styrofoam.  All it did was make a mess.

 Old ducts from the Mark I and Mark II

Old ducts from the Mark I and Mark II

 The large amperage requirements meant we needed really thick cables to transmit power from the batteries to the motors

The large amperage requirements meant we needed really thick cables to transmit power from the batteries to the motors

IMG_5650.JPG
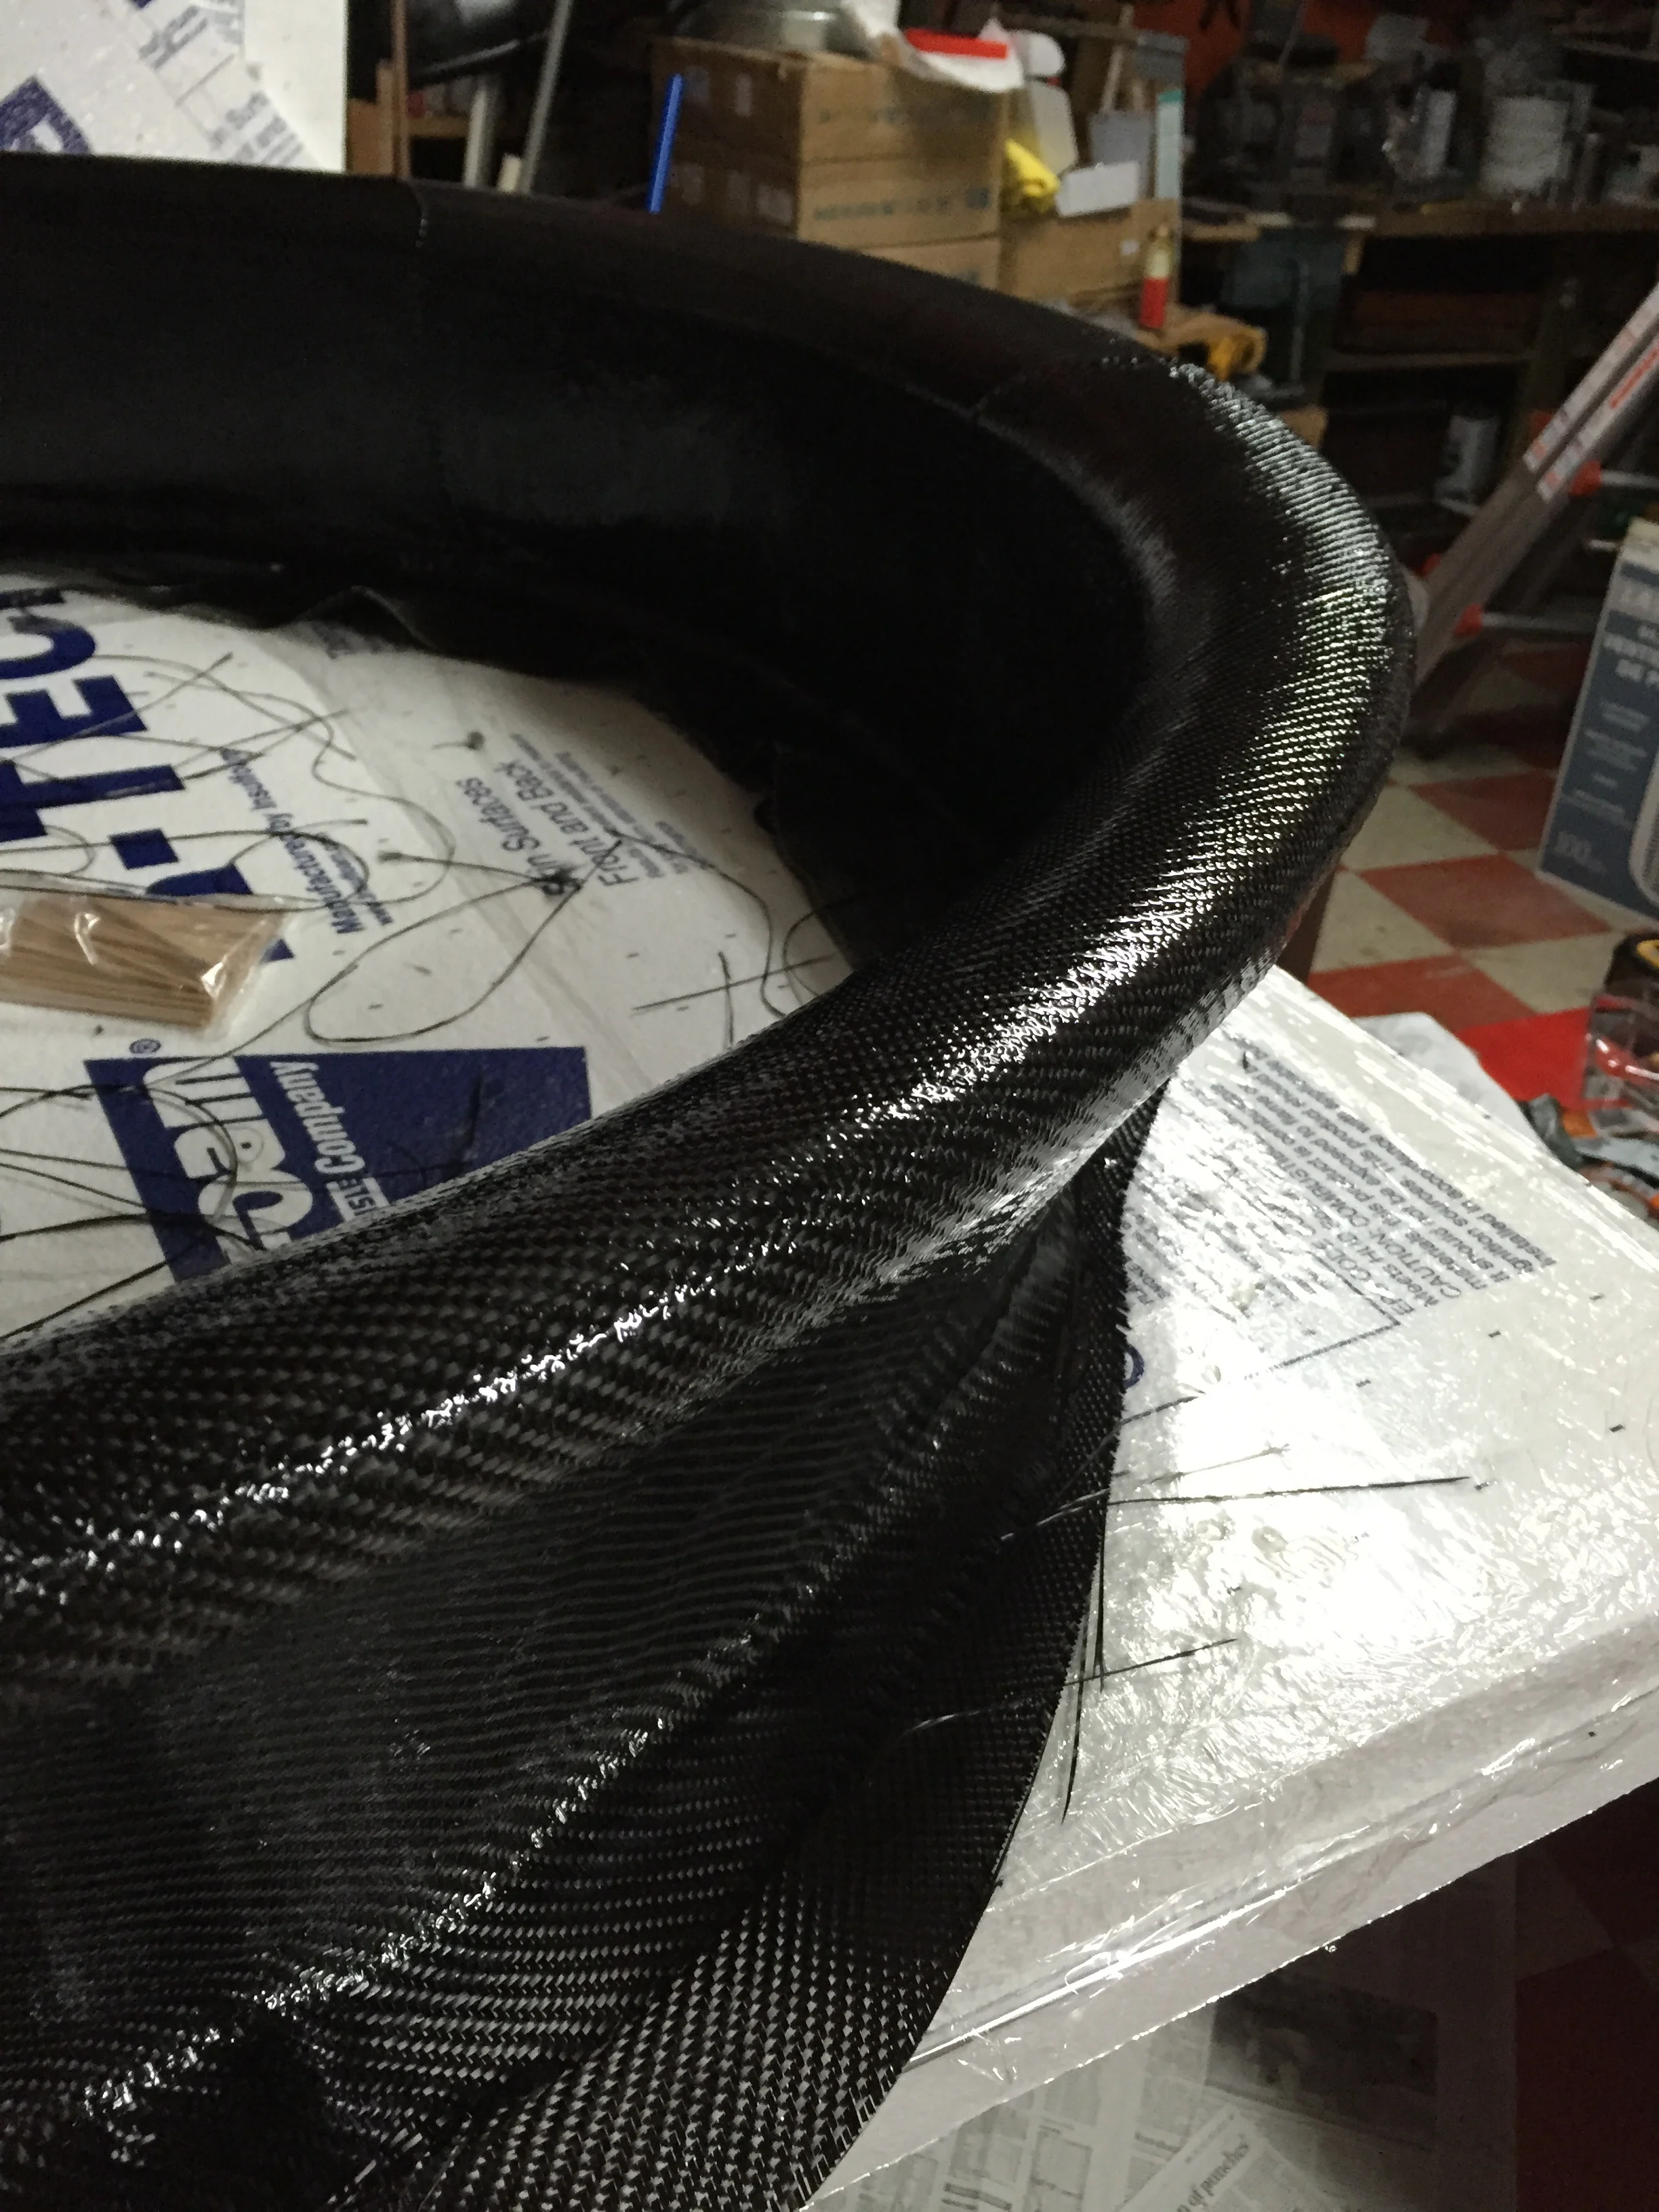
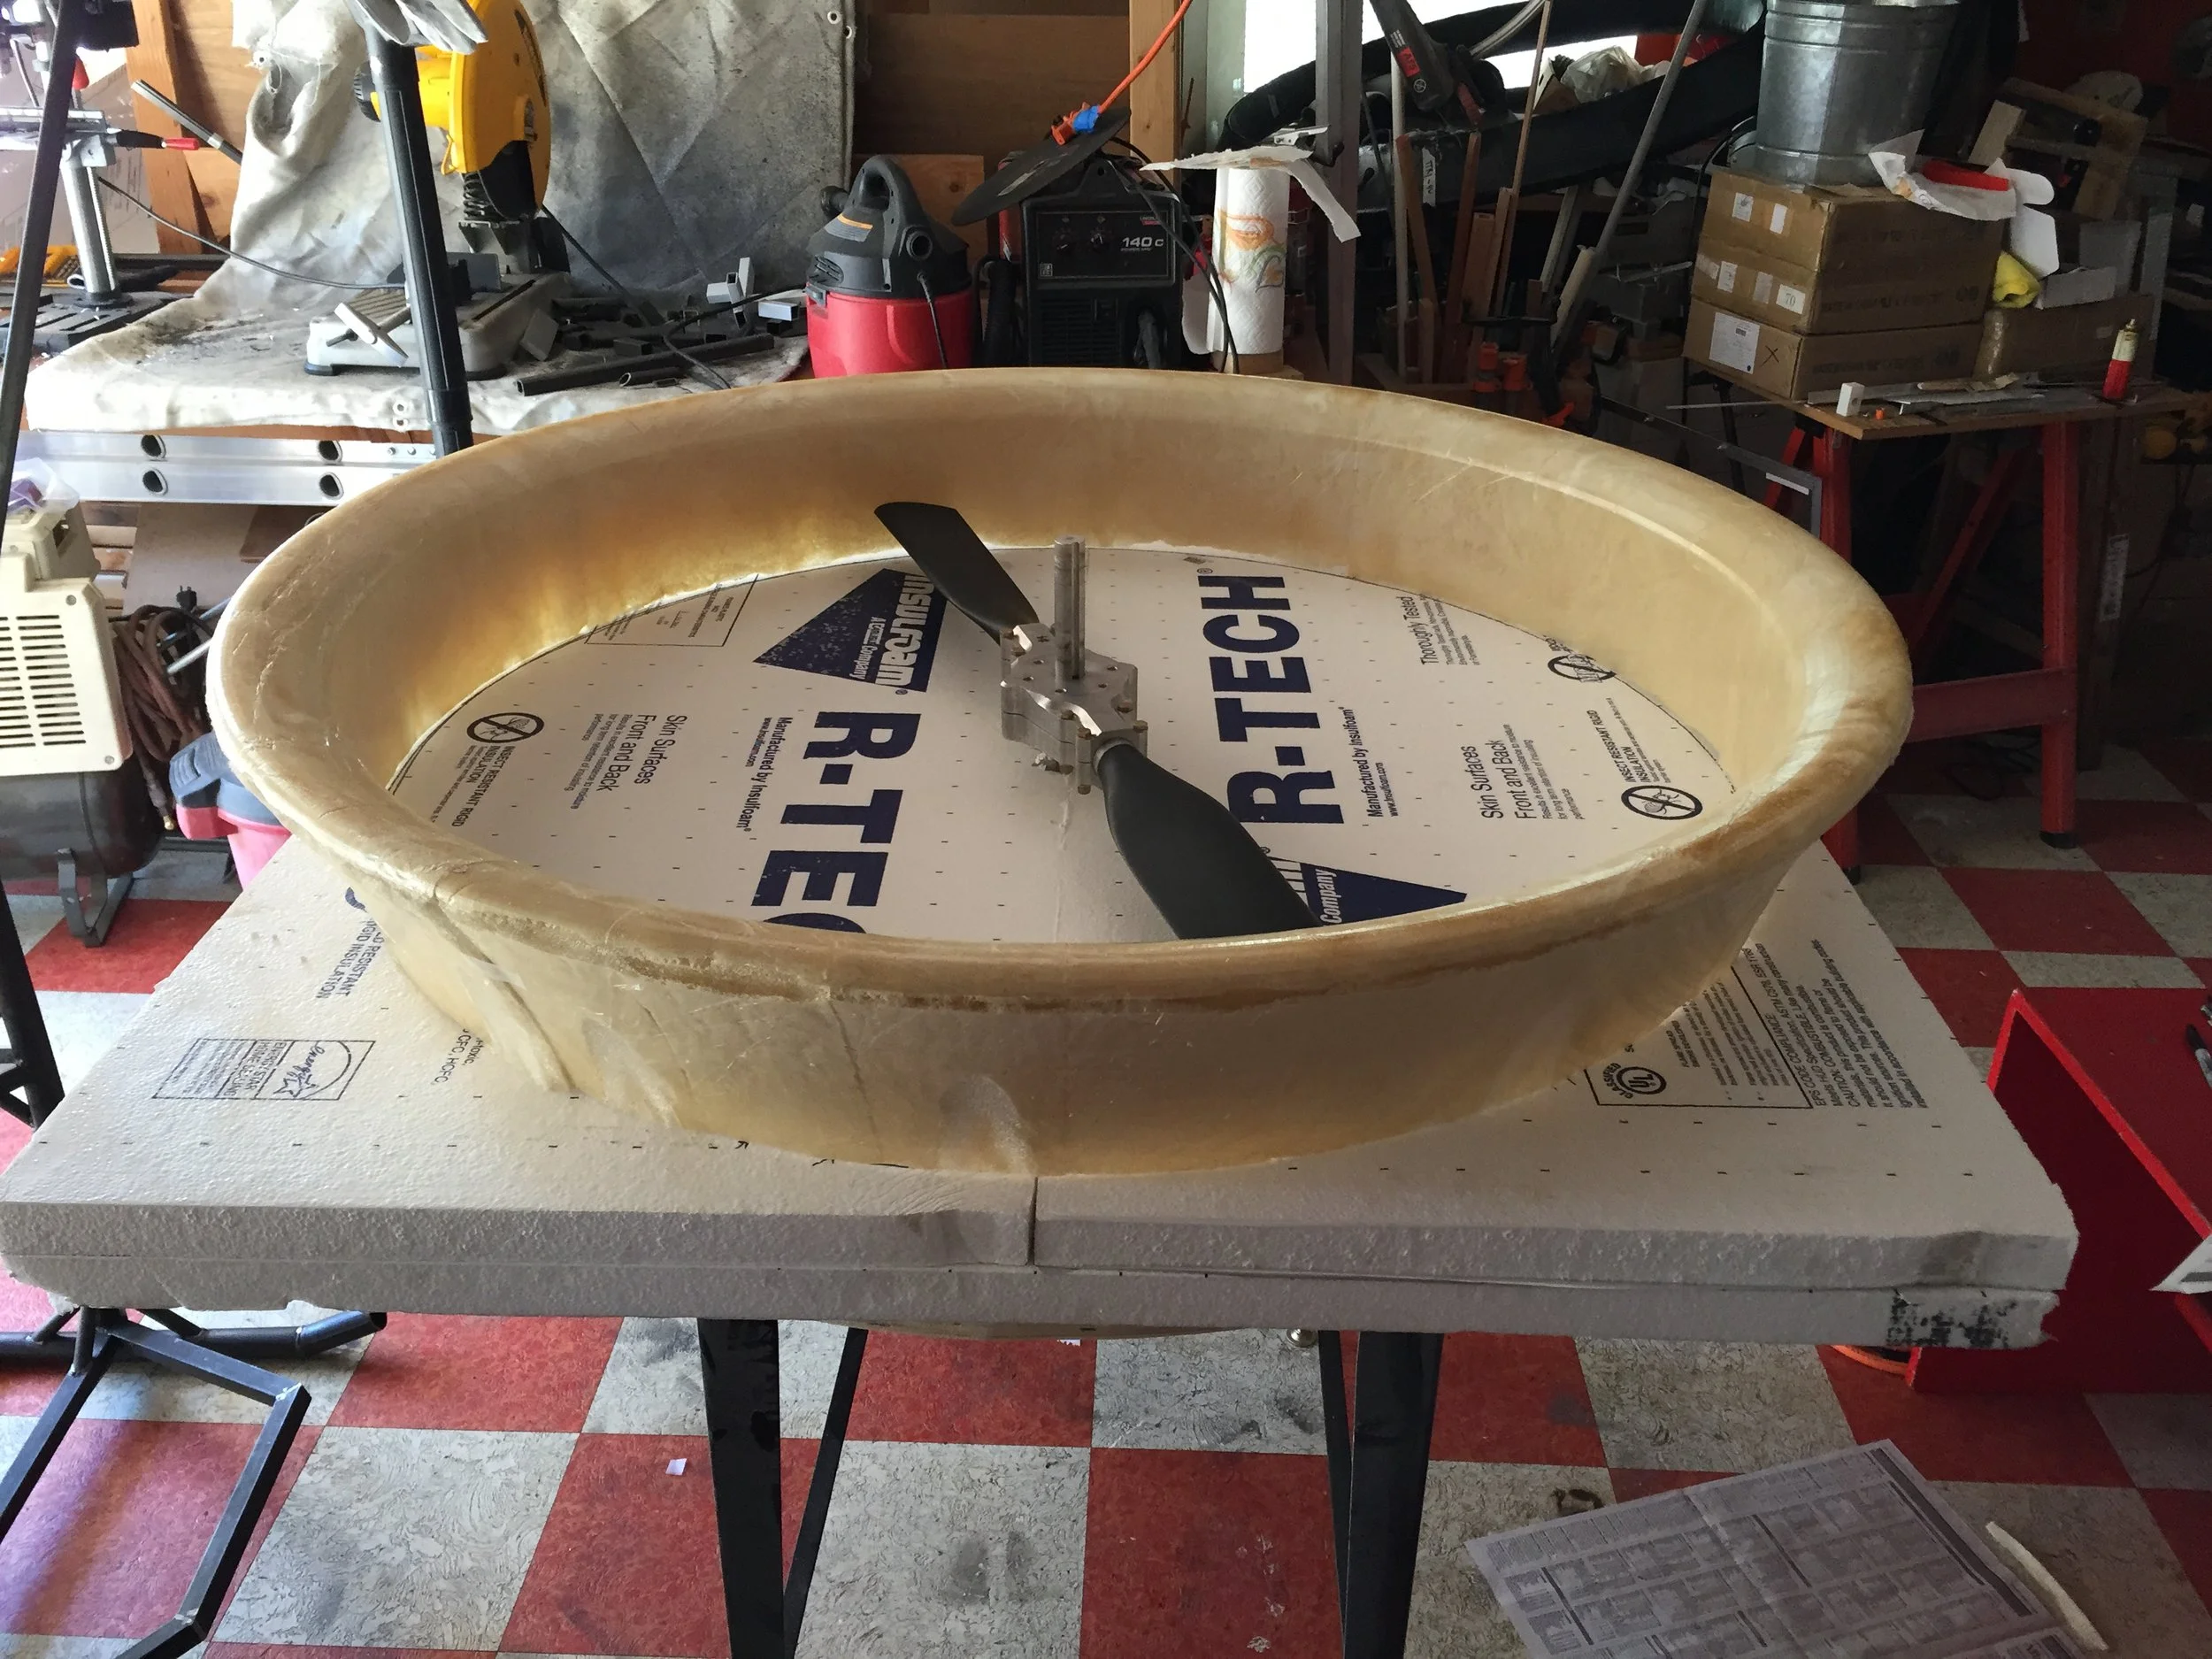
 The Mark III ducts were made out of carbon fiber, but still a huge pain to build by hand

The Mark III ducts were made out of carbon fiber, but still a huge pain to build by hand

 The final product of the ducts - they look fantastic!

The final product of the ducts - they look fantastic!

 This was the new mold we 3D printed to form the duct core (using an expanding foam)

This was the new mold we 3D printed to form the duct core (using an expanding foam)

IMG_5904.JPG
IMG_5912.JPG
IMG_5963.JPG
 During duct construction, we tried used ever-increasing amounts of epoxy to be more efficient, until we mixed too much and it got hot enough to melt the cup it was in...

During duct construction, we tried used ever-increasing amounts of epoxy to be more efficient, until we mixed too much and it got hot enough to melt the cup it was in...

 We also tried 3D-printing some wheel adapters to attach it to the frame.  They broke the moment someone sat in it.

We also tried 3D-printing some wheel adapters to attach it to the frame.  They broke the moment someone sat in it.

IMG_6028.JPG
 Prepping for paint!  

Prepping for paint!
 

IMG_6038.JPG
IMG_6045.JPG
IMG_6050.JPG
IMG_6055.JPG
IMG_6090.JPG
 These were all the wires that were hand-soldered to connect the batteries together

These were all the wires that were hand-soldered to connect the batteries together

IMG_6100.JPG
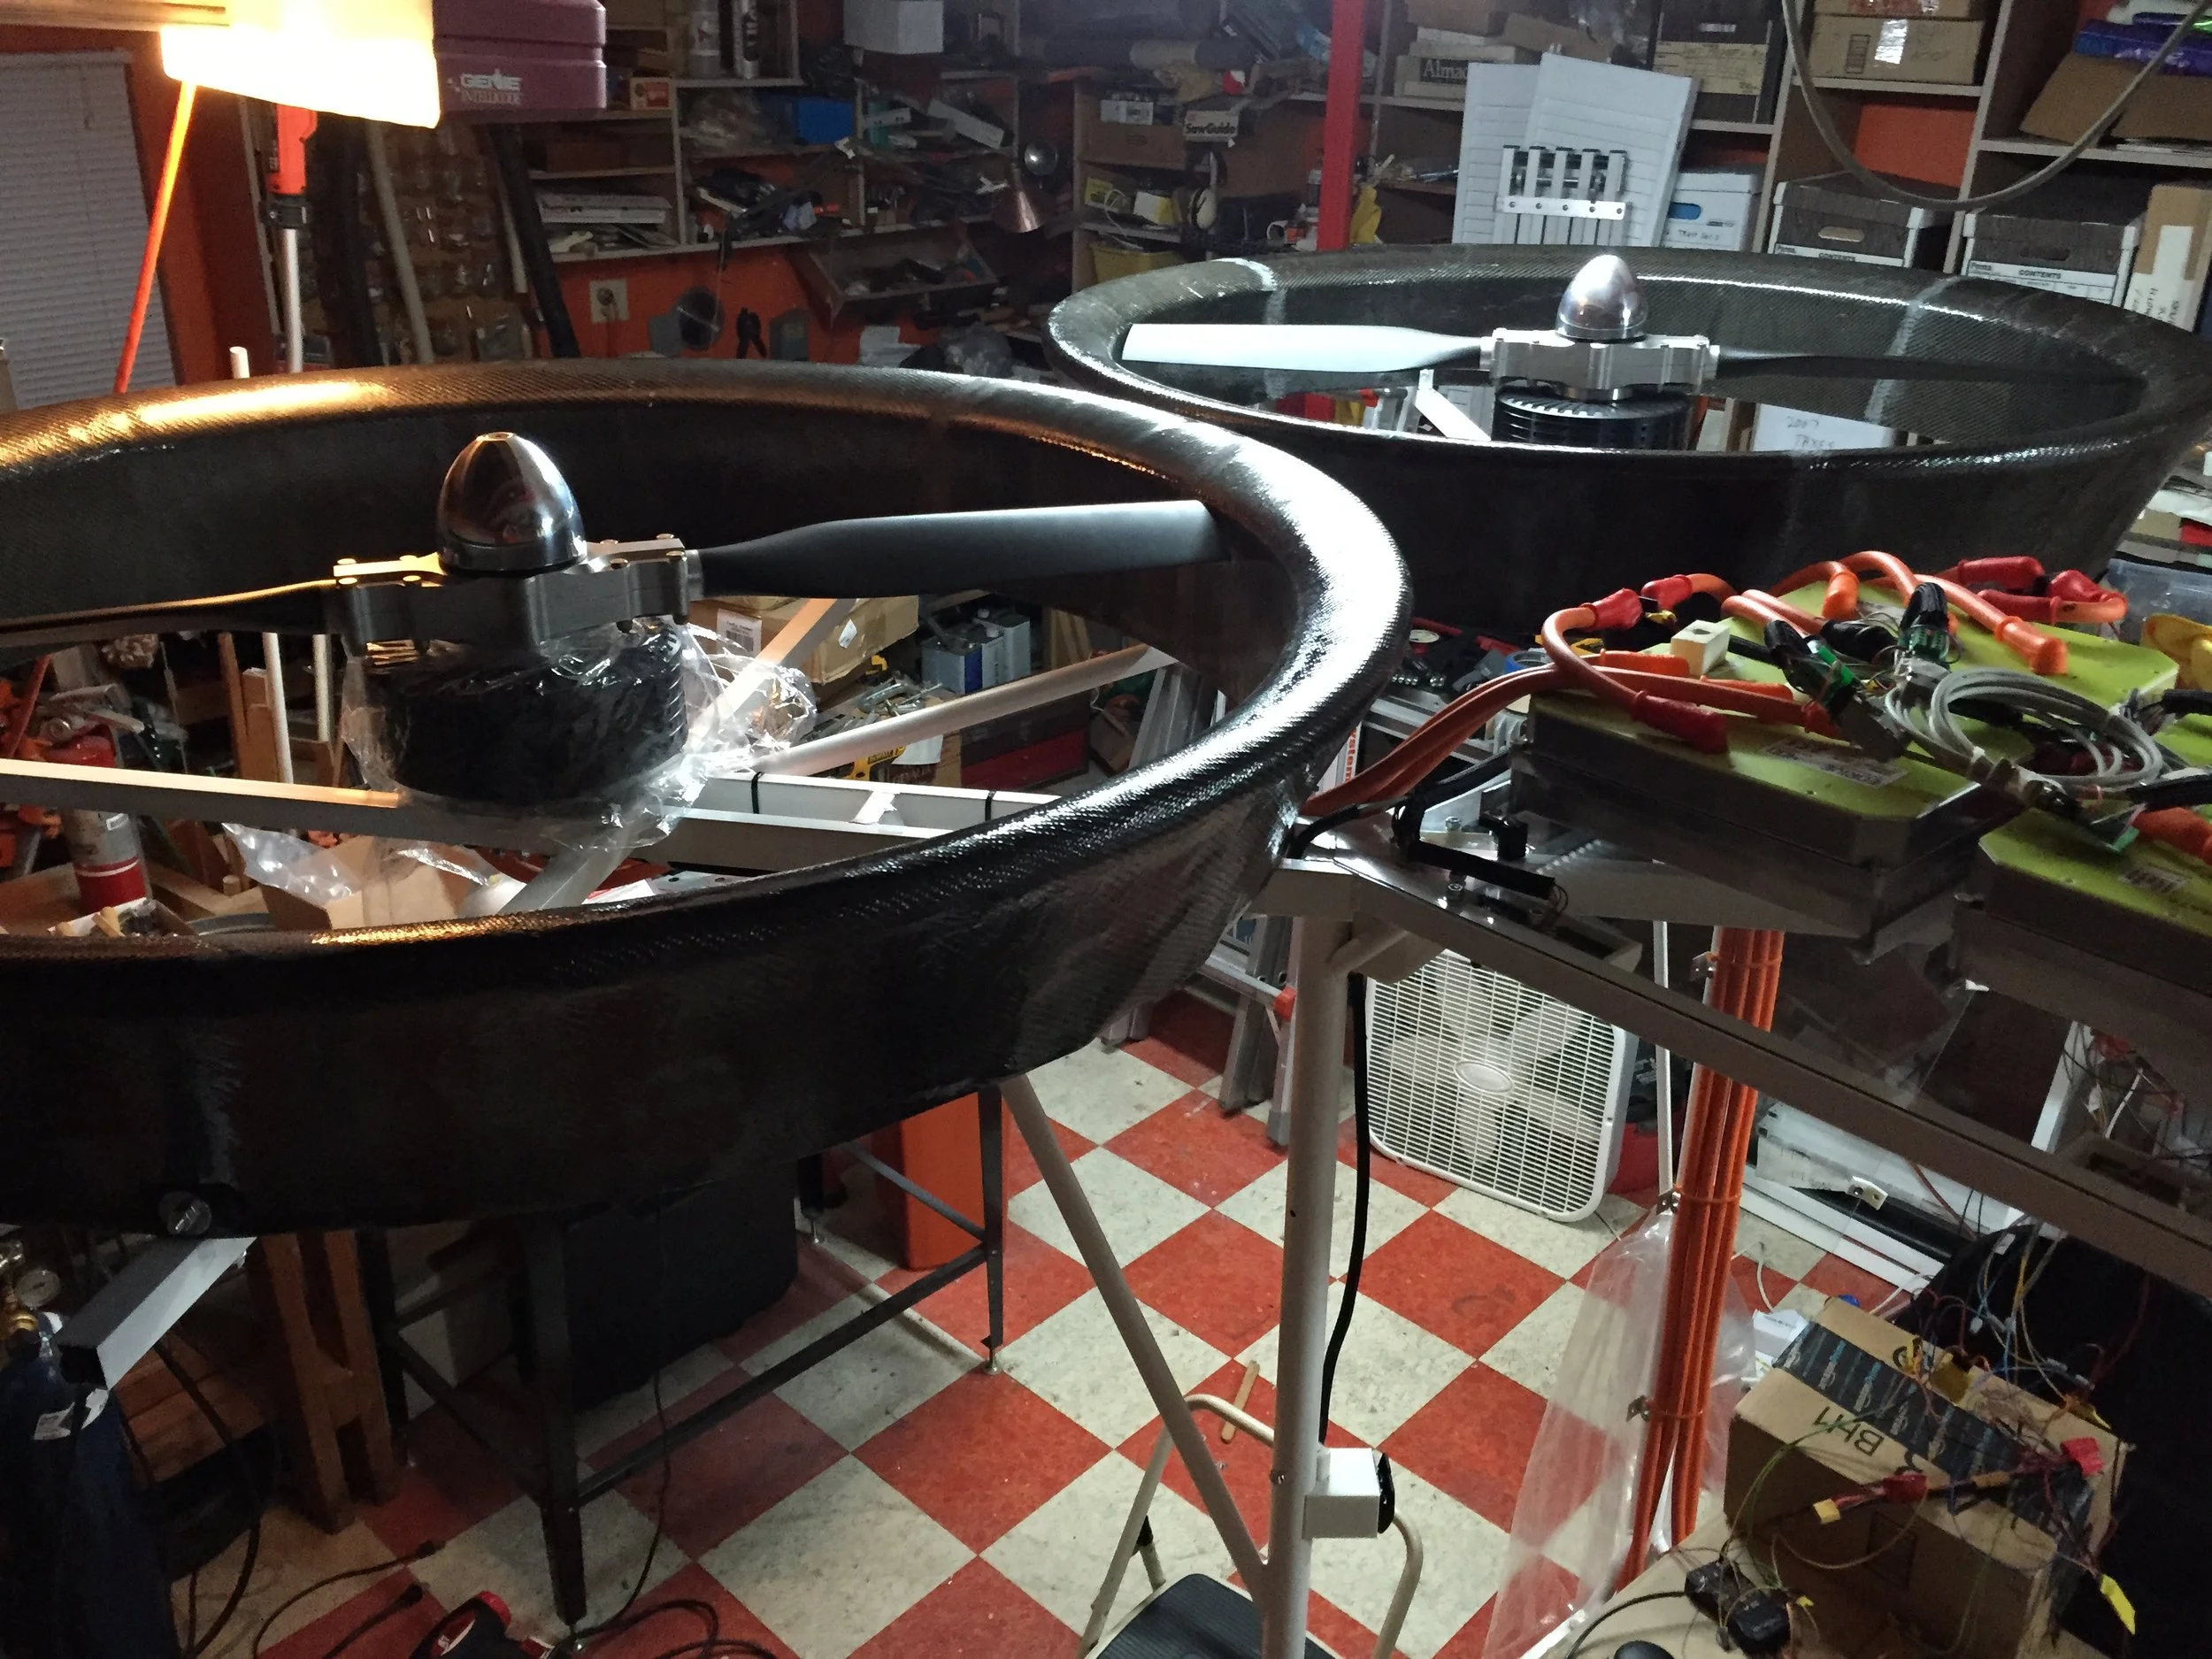
 First attempts to mount ducts to the frame

First attempts to mount ducts to the frame

IMG_6175.JPG
 Sometimes the 3D printer didn't want to cooperate on large, overnight prints

Sometimes the 3D printer didn't want to cooperate on large, overnight prints

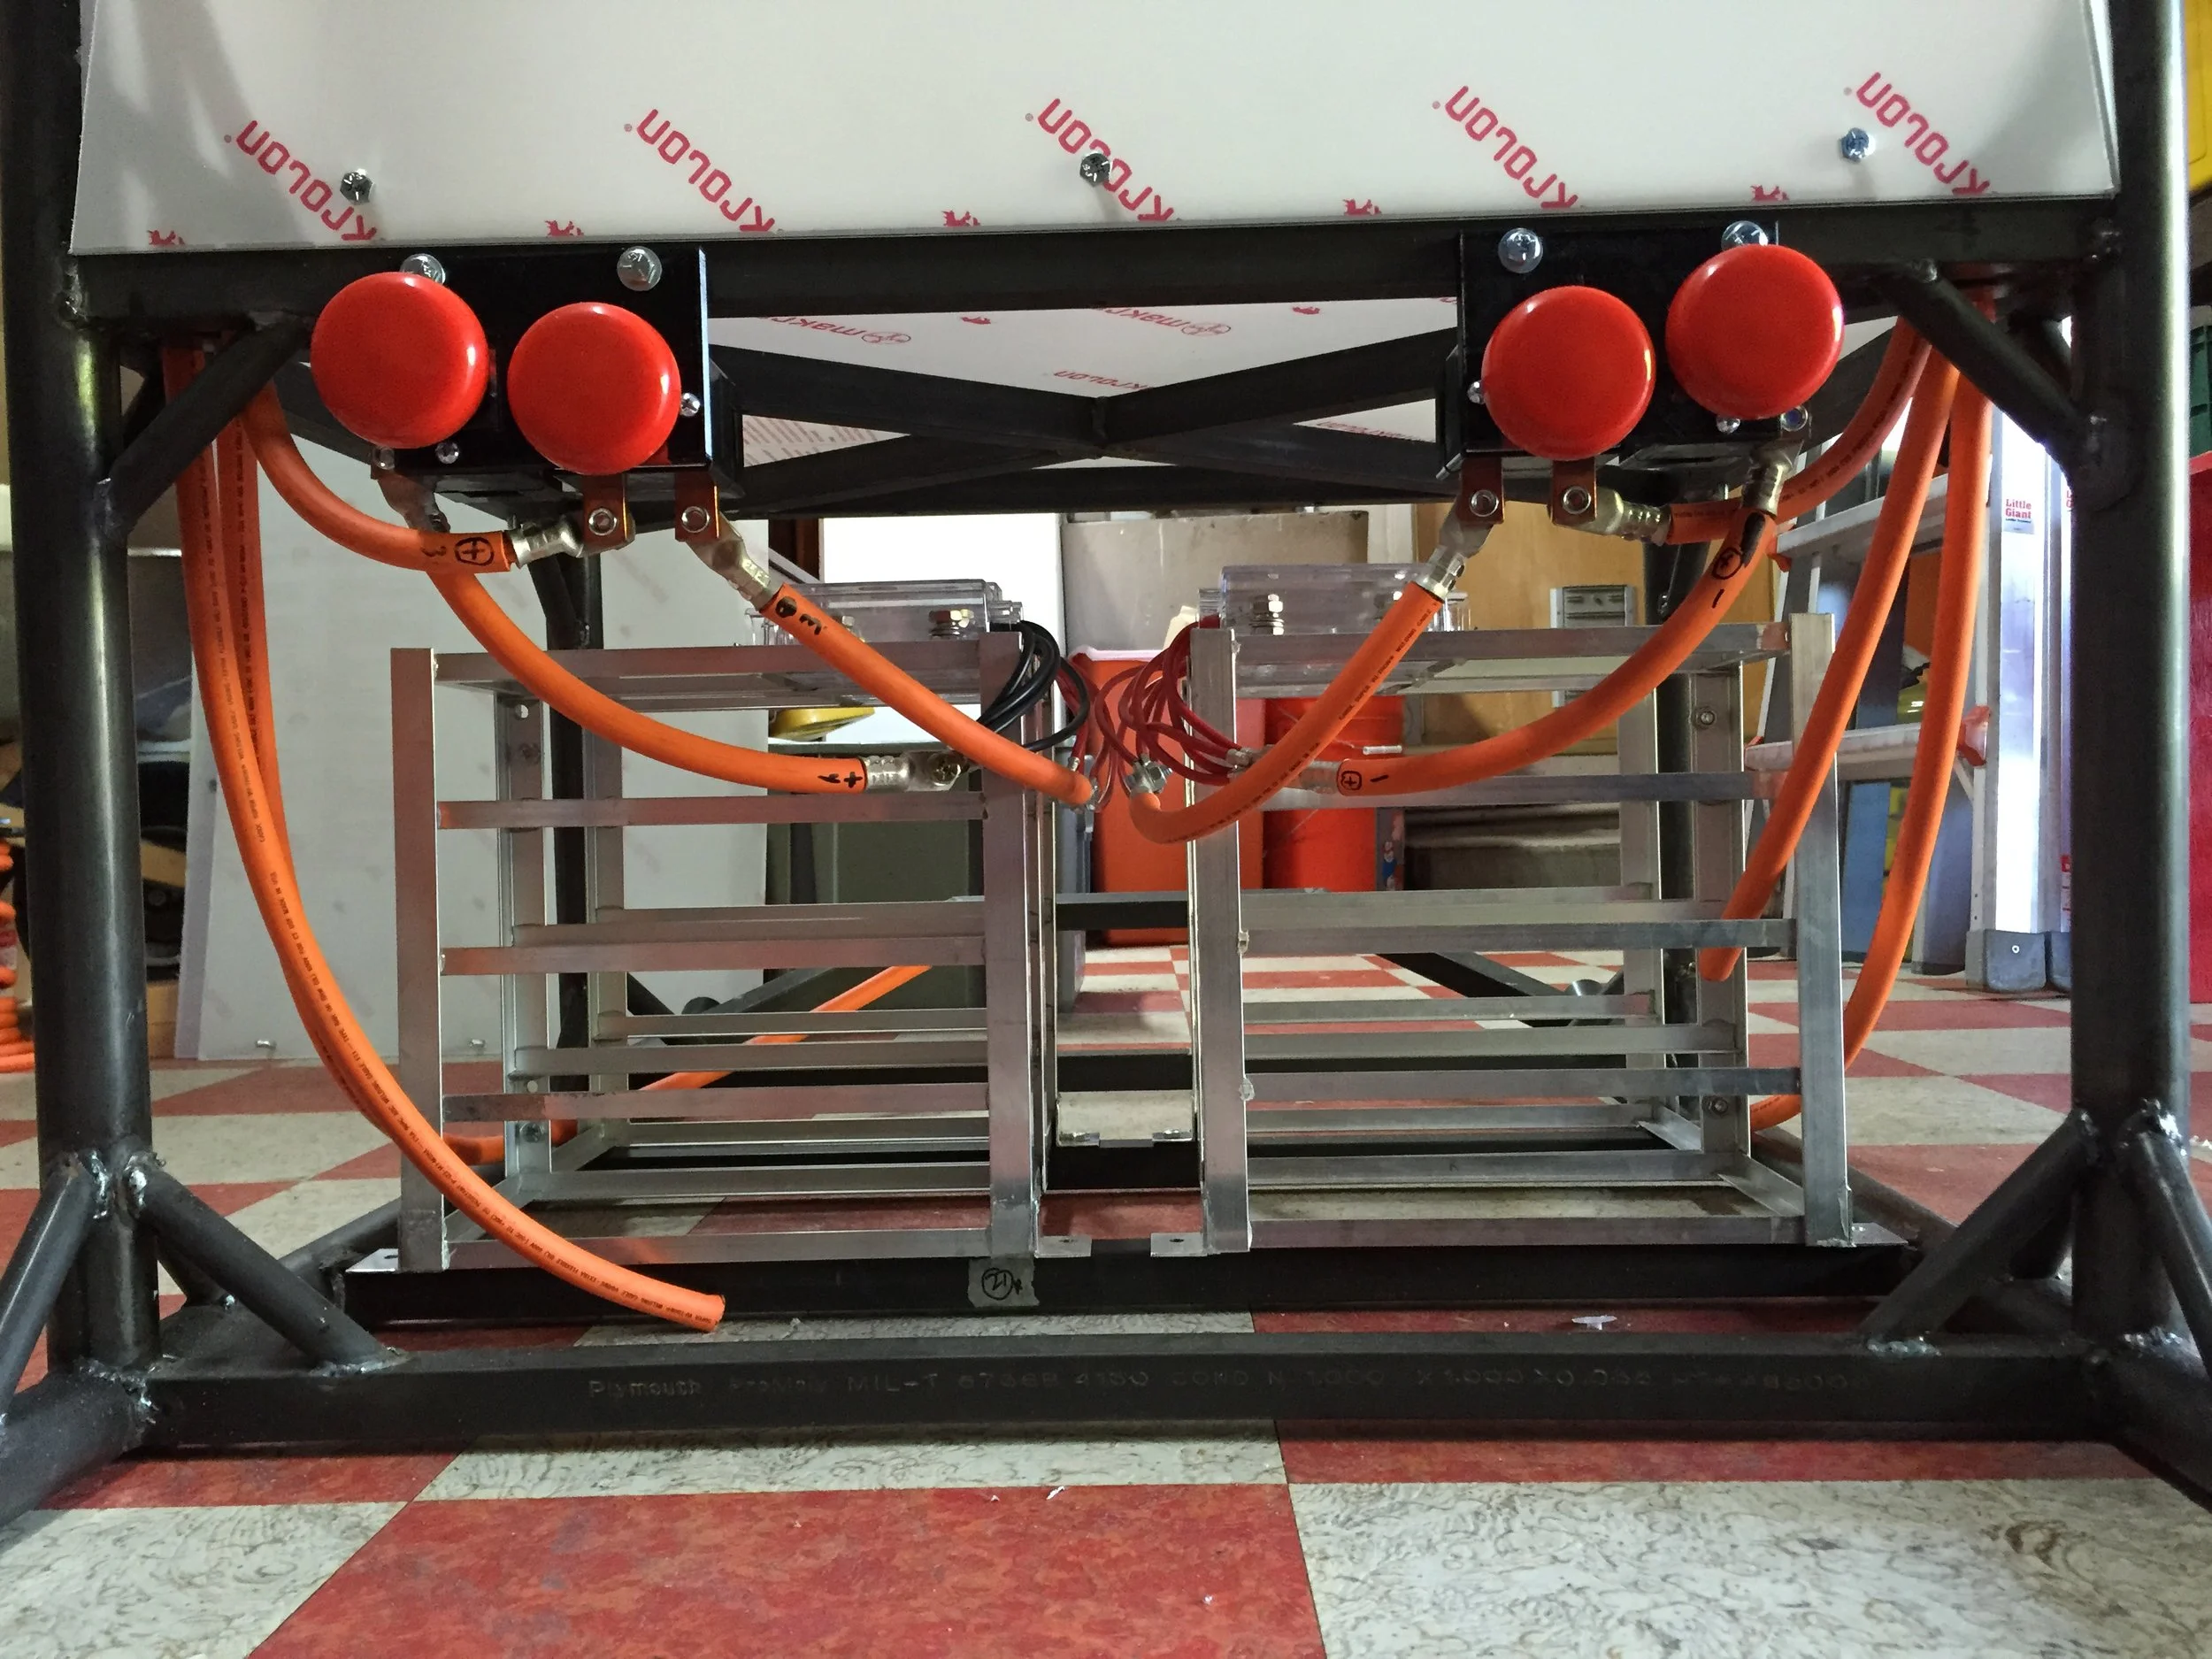
 Each side had its own controls for power and battery monitoring.  Each also required two switches to be pressed to activate power to the motors to ensure they couldn't accidentally be turned on.

Each side had its own controls for power and battery monitoring.  Each also required two switches to be pressed to activate power to the motors to ensure they couldn't accidentally be turned on.

IMG_6228.JPG
IMG_6237.JPG
IMG_6240.JPG
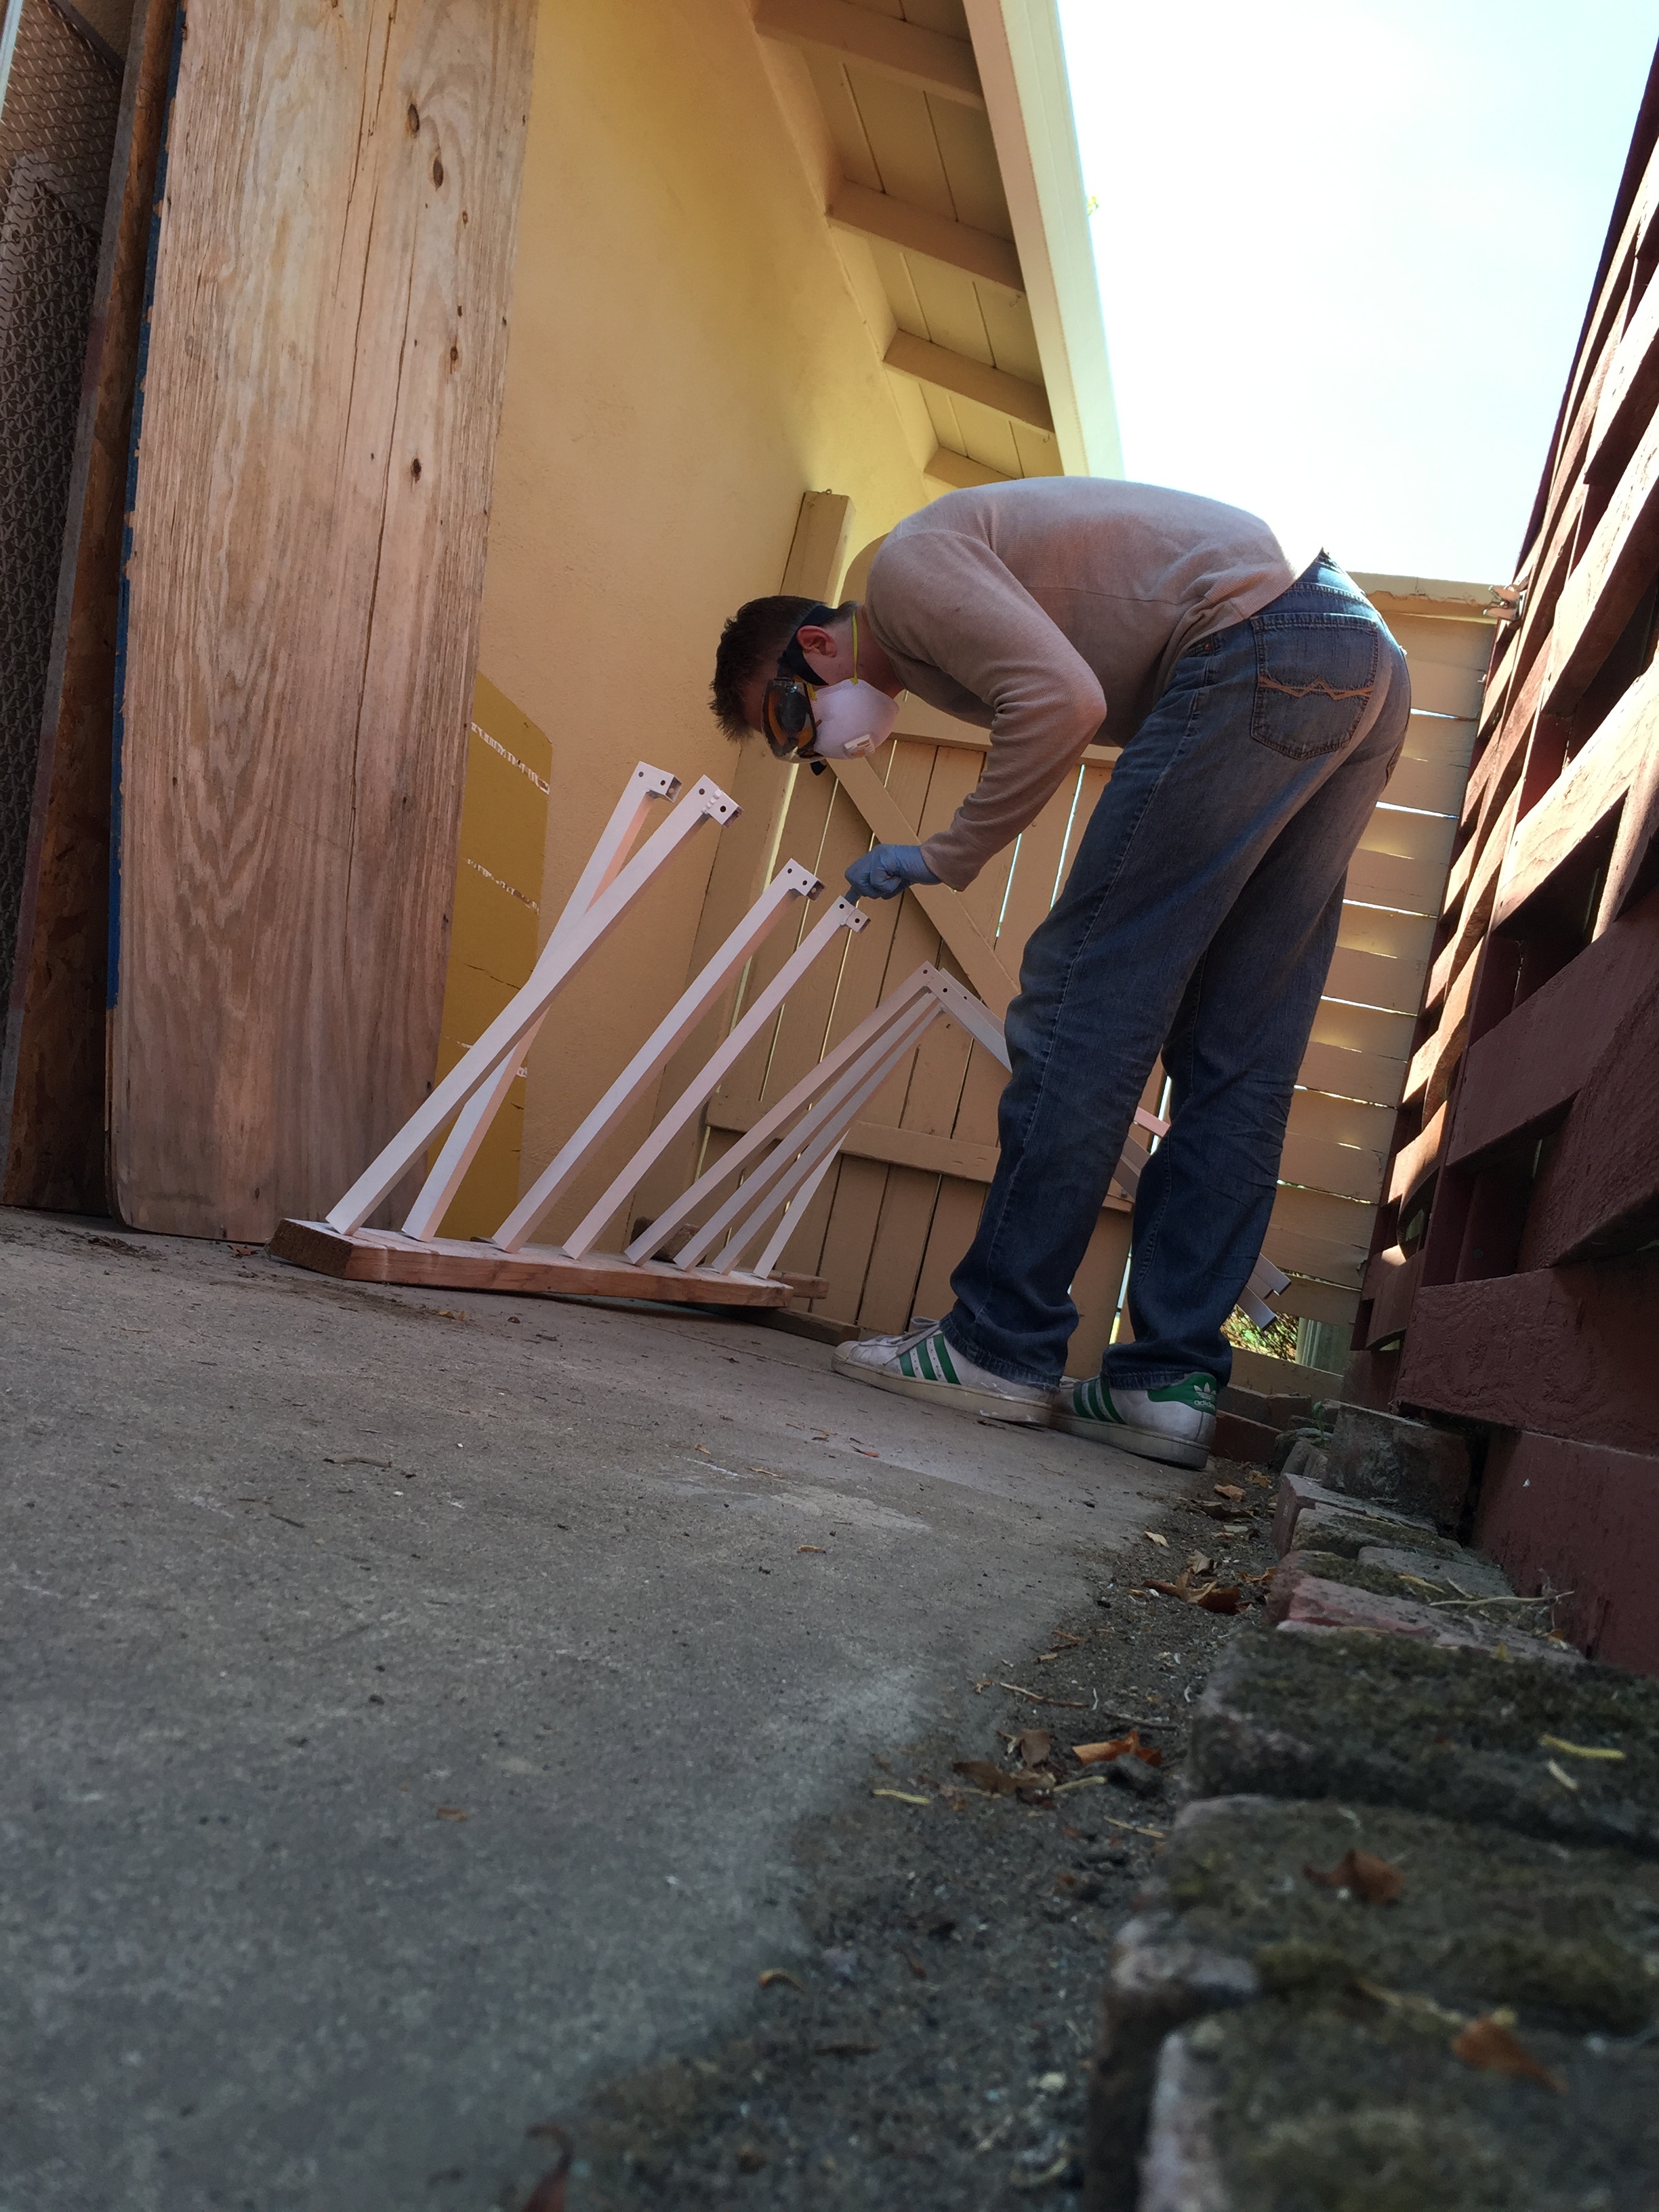
 Spray painting the duct bars

Spray painting the duct bars

 Spray painting the duct bars

Spray painting the duct bars

 By now the Mark I frame was rusting away and would soon be scrapped

By now the Mark I frame was rusting away and would soon be scrapped

 First efforts to hook get the new motors working!

First efforts to hook get the new motors working!

IMG_6472.JPG
 Early concepts for the Mark IV while the Mark III was still under construction

Early concepts for the Mark IV while the Mark III was still under construction

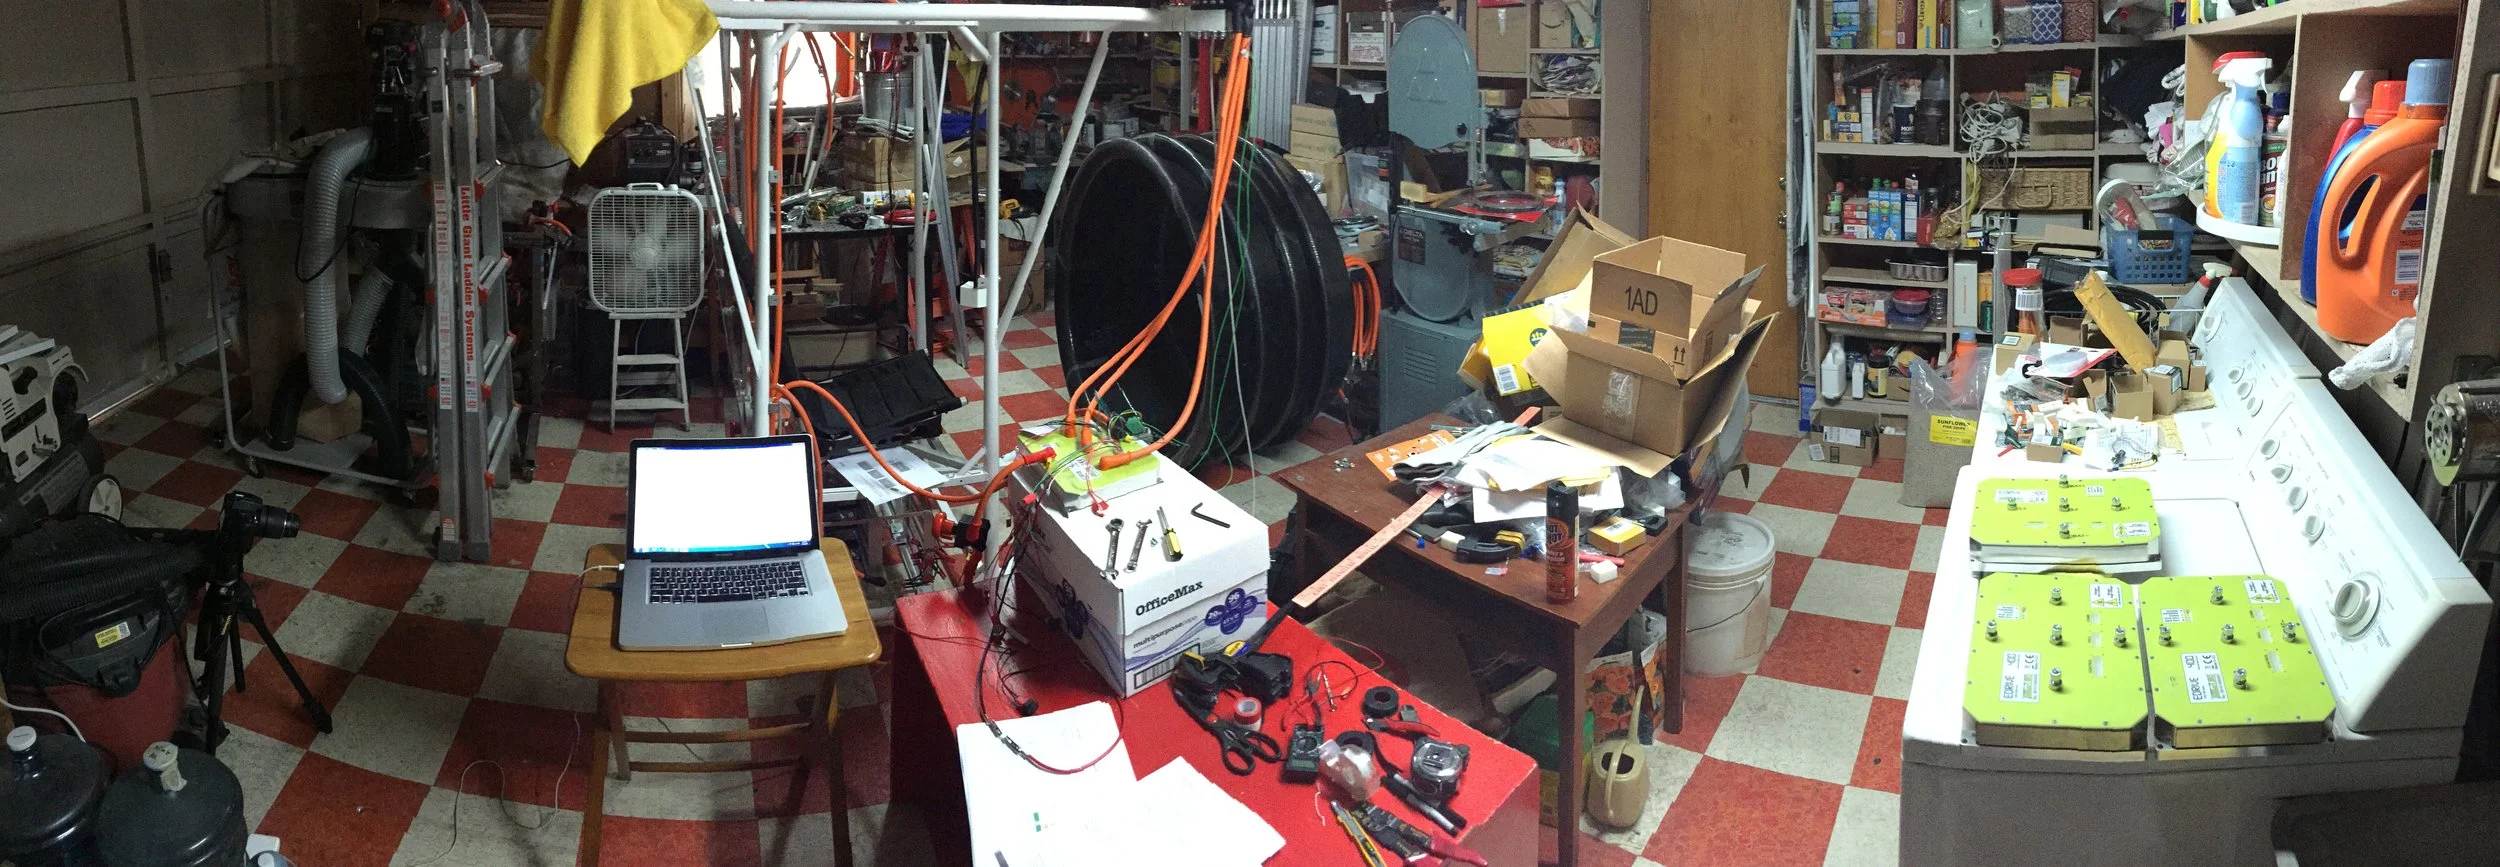
 You really have no idea just how difficult the wiring was to make all this work

You really have no idea just how difficult the wiring was to make all this work

IMG_6642.JPG
 By the end, all the cables were nicely wrapped up so the mess was hidden

By the end, all the cables were nicely wrapped up so the mess was hidden

 Each motor had an independent power supply of 16 batteries

Each motor had an independent power supply of 16 batteries

IMG_6713.JPG
IMG_6722.JPG
IMG_6757.JPG
IMG_6759.JPG
IMG_6766.JPG
IMG_6768.JPG
IMG_6770.JPG
 This is how many batteries it took to power the Mark III - 64 batteries weighing ~100lbs

This is how many batteries it took to power the Mark III - 64 batteries weighing ~100lbs

1 2 3 4 5 6 7 8 9 10 11 12 13 14 15 16 17 18 19 20 21 22 23 24 25 26 27 28 29 30 31 32 33 34 35 36 37 38 39 40 41 42 43 44 45 46 47 48 49 50 51 52 53 54 55 56 57 58 59 60 61 62 63 64 65 66 67 68 69 70 71 72 73 74
Previous Next
IMG_7081.JPG
IMG_7074.JPG
IMG_7063.JPG
IMG_7086.JPG
IMG_7084.JPG
IMG_7069.JPG
IMG_7073.JPG
IMG_7080.JPG
IMG_7065.JPG
IMG_7087.JPG
 Almost this entire spool of 1/0 gauge cable was used to move power around the Mark III - roughly 40-45lbs in total
 The steel bars for the top portion cut and labeled, ready for welding!  In case you're wondering, it's 4130 steel, which is a special grade that's higher strength and lower weight than regular mild steel.
 Start of the welding!
IMG_5239.JPG
 This was the CAD mock-up of the Mark III for how it was designed before any metal was bought
 The CAD mock-up of the Mark III - top view
 The CAD mock-up of the Mark III
 String and cardboard was used (very high-tech) to visualize several options for the protective shielding
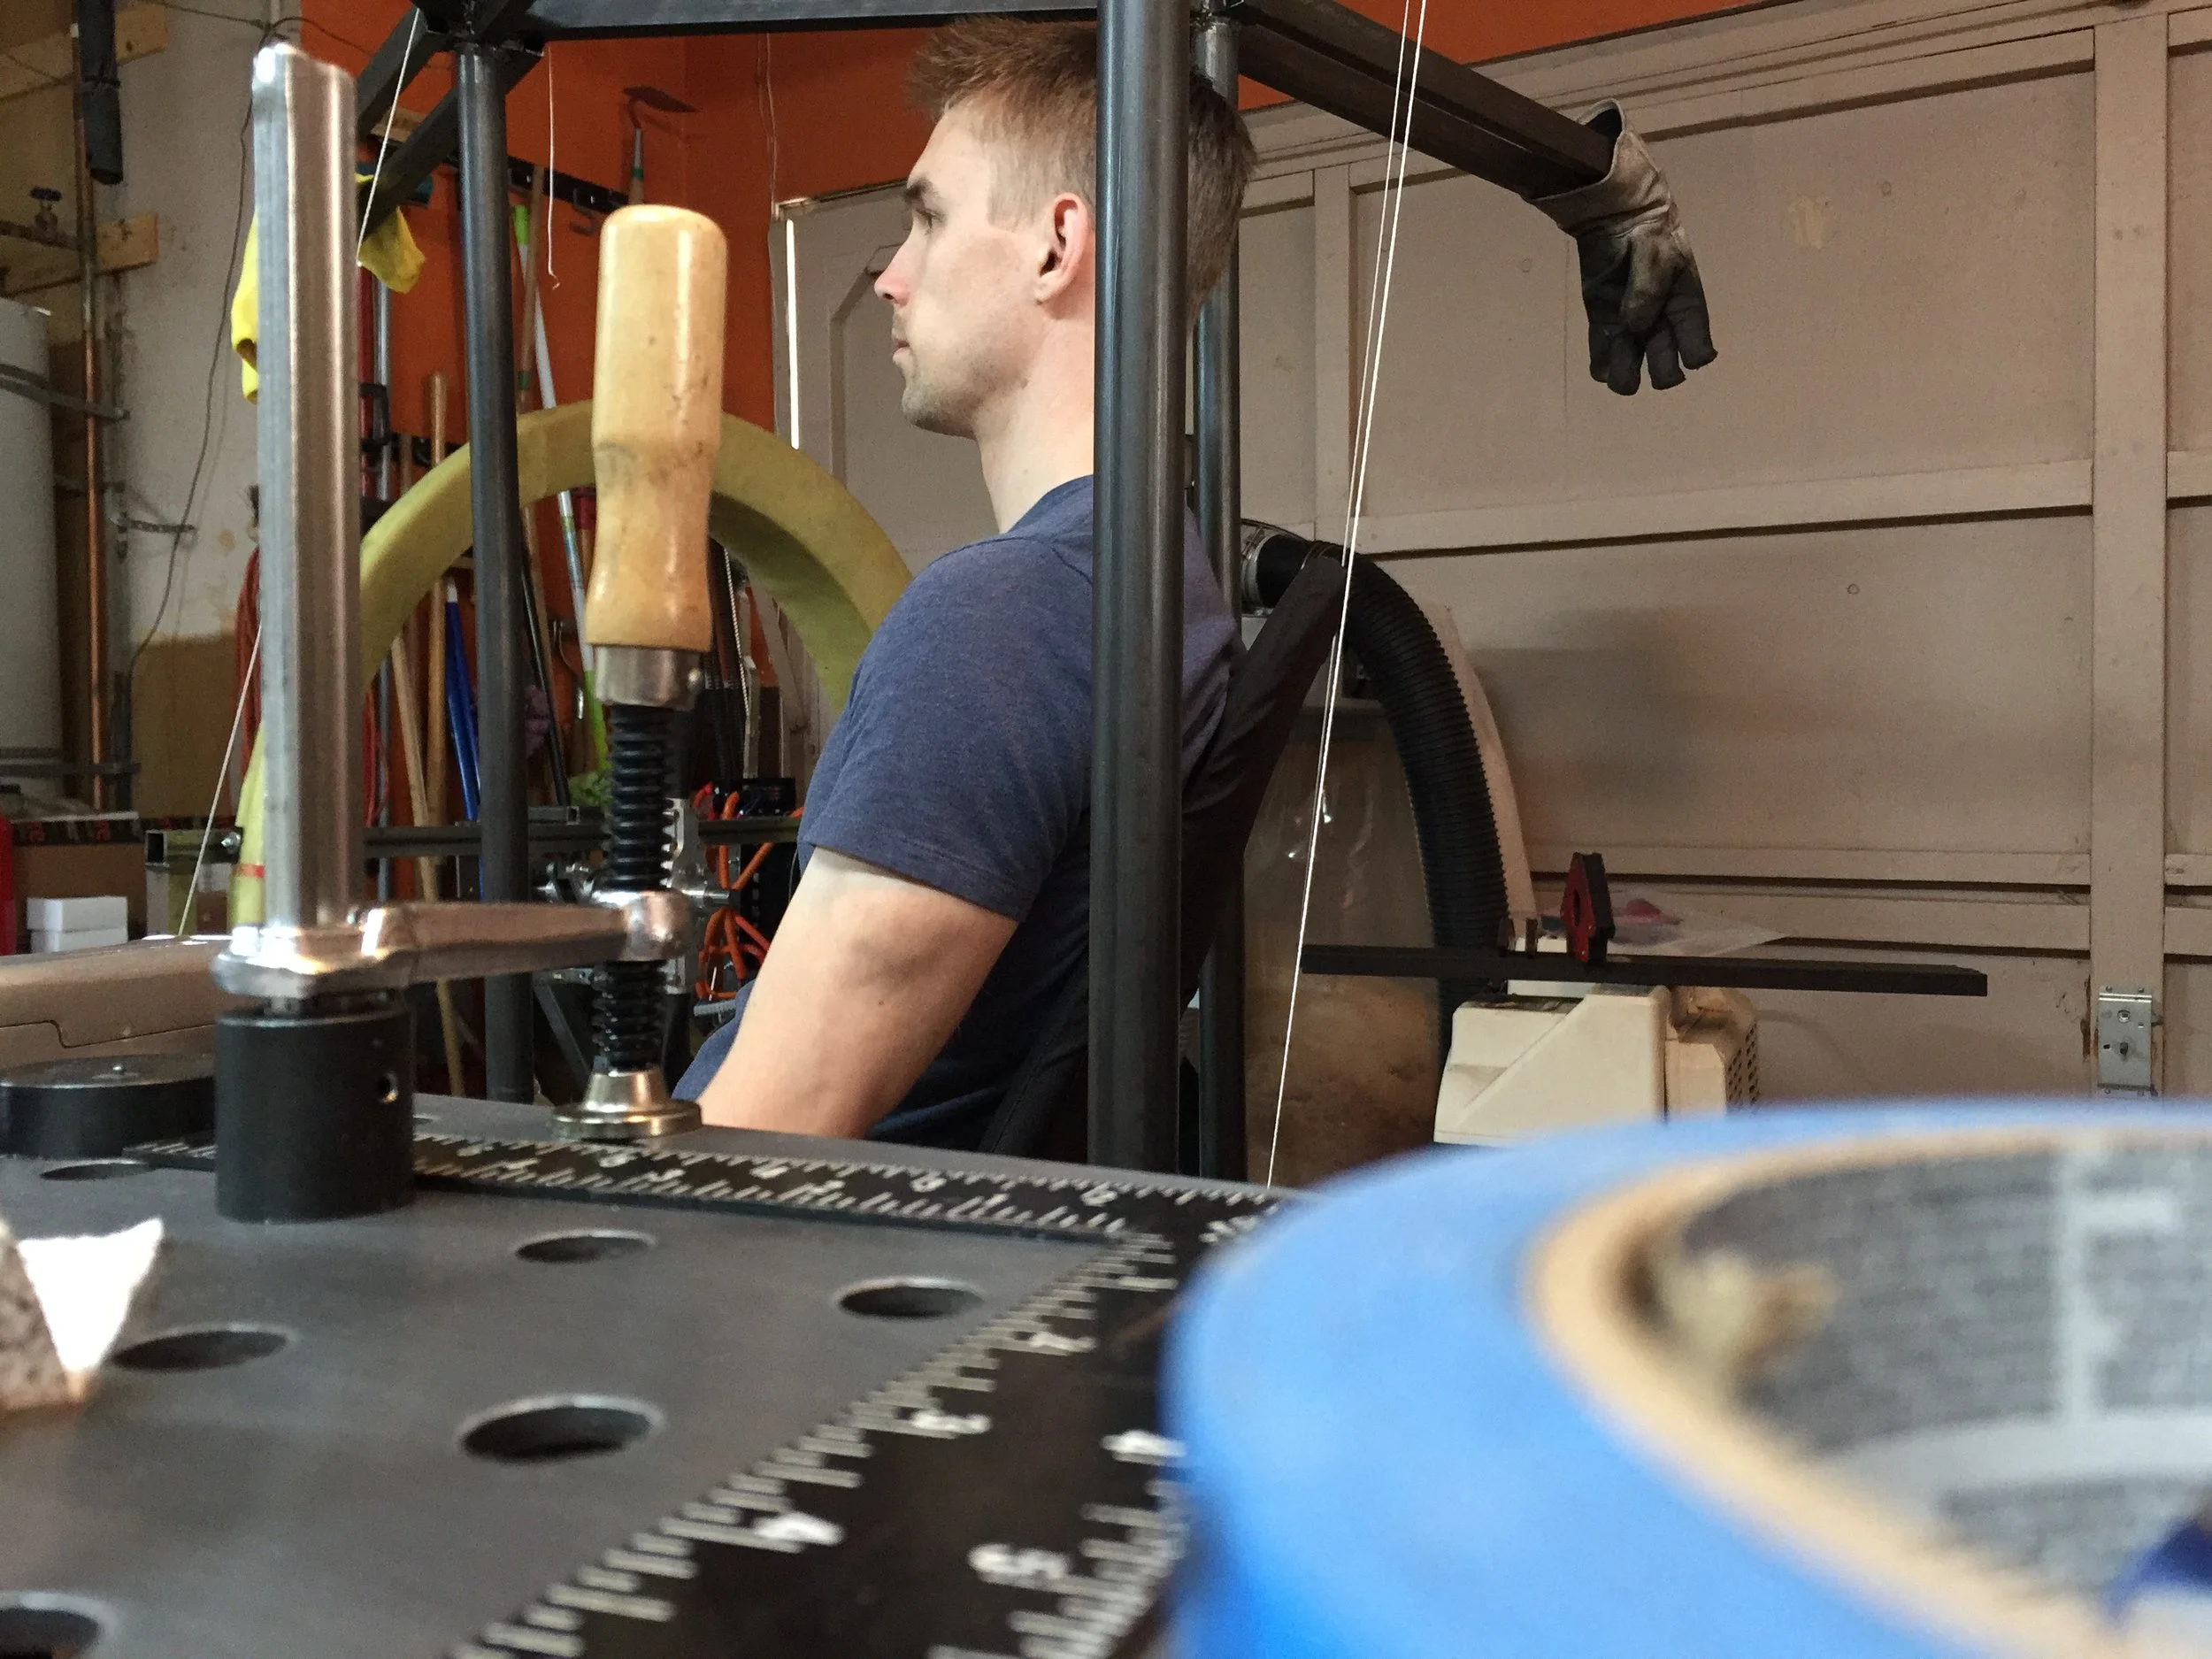
 Testing the chair positioning with string to make sure the pilot's head wouldn't be hitting the back panel
IMG_5325.JPG
IMG_5336.JPG
IMG_5358.JPG
 Cutting and drilling the safety panels
IMG_5397.JPG
 Our commitment extends to safety - including eye, ear, and lung protection during construction.  Sadly, it's really hot and stuffy when you wear all this.  
 The back panel was the most complex to build due to the 3D geometry
IMG_5417.JPG
IMG_5419.JPG
 We tried to use the Thrust Testing Rig to shape and cut the ducts by spinning Styrofoam.  All it did was make a mess.
 Old ducts from the Mark I and Mark II
 The large amperage requirements meant we needed really thick cables to transmit power from the batteries to the motors
IMG_5650.JPG
 The Mark III ducts were made out of carbon fiber, but still a huge pain to build by hand
 The final product of the ducts - they look fantastic!
 This was the new mold we 3D printed to form the duct core (using an expanding foam)
IMG_5904.JPG
IMG_5912.JPG
IMG_5963.JPG
 During duct construction, we tried used ever-increasing amounts of epoxy to be more efficient, until we mixed too much and it got hot enough to melt the cup it was in...
 We also tried 3D-printing some wheel adapters to attach it to the frame.  They broke the moment someone sat in it.
IMG_6028.JPG
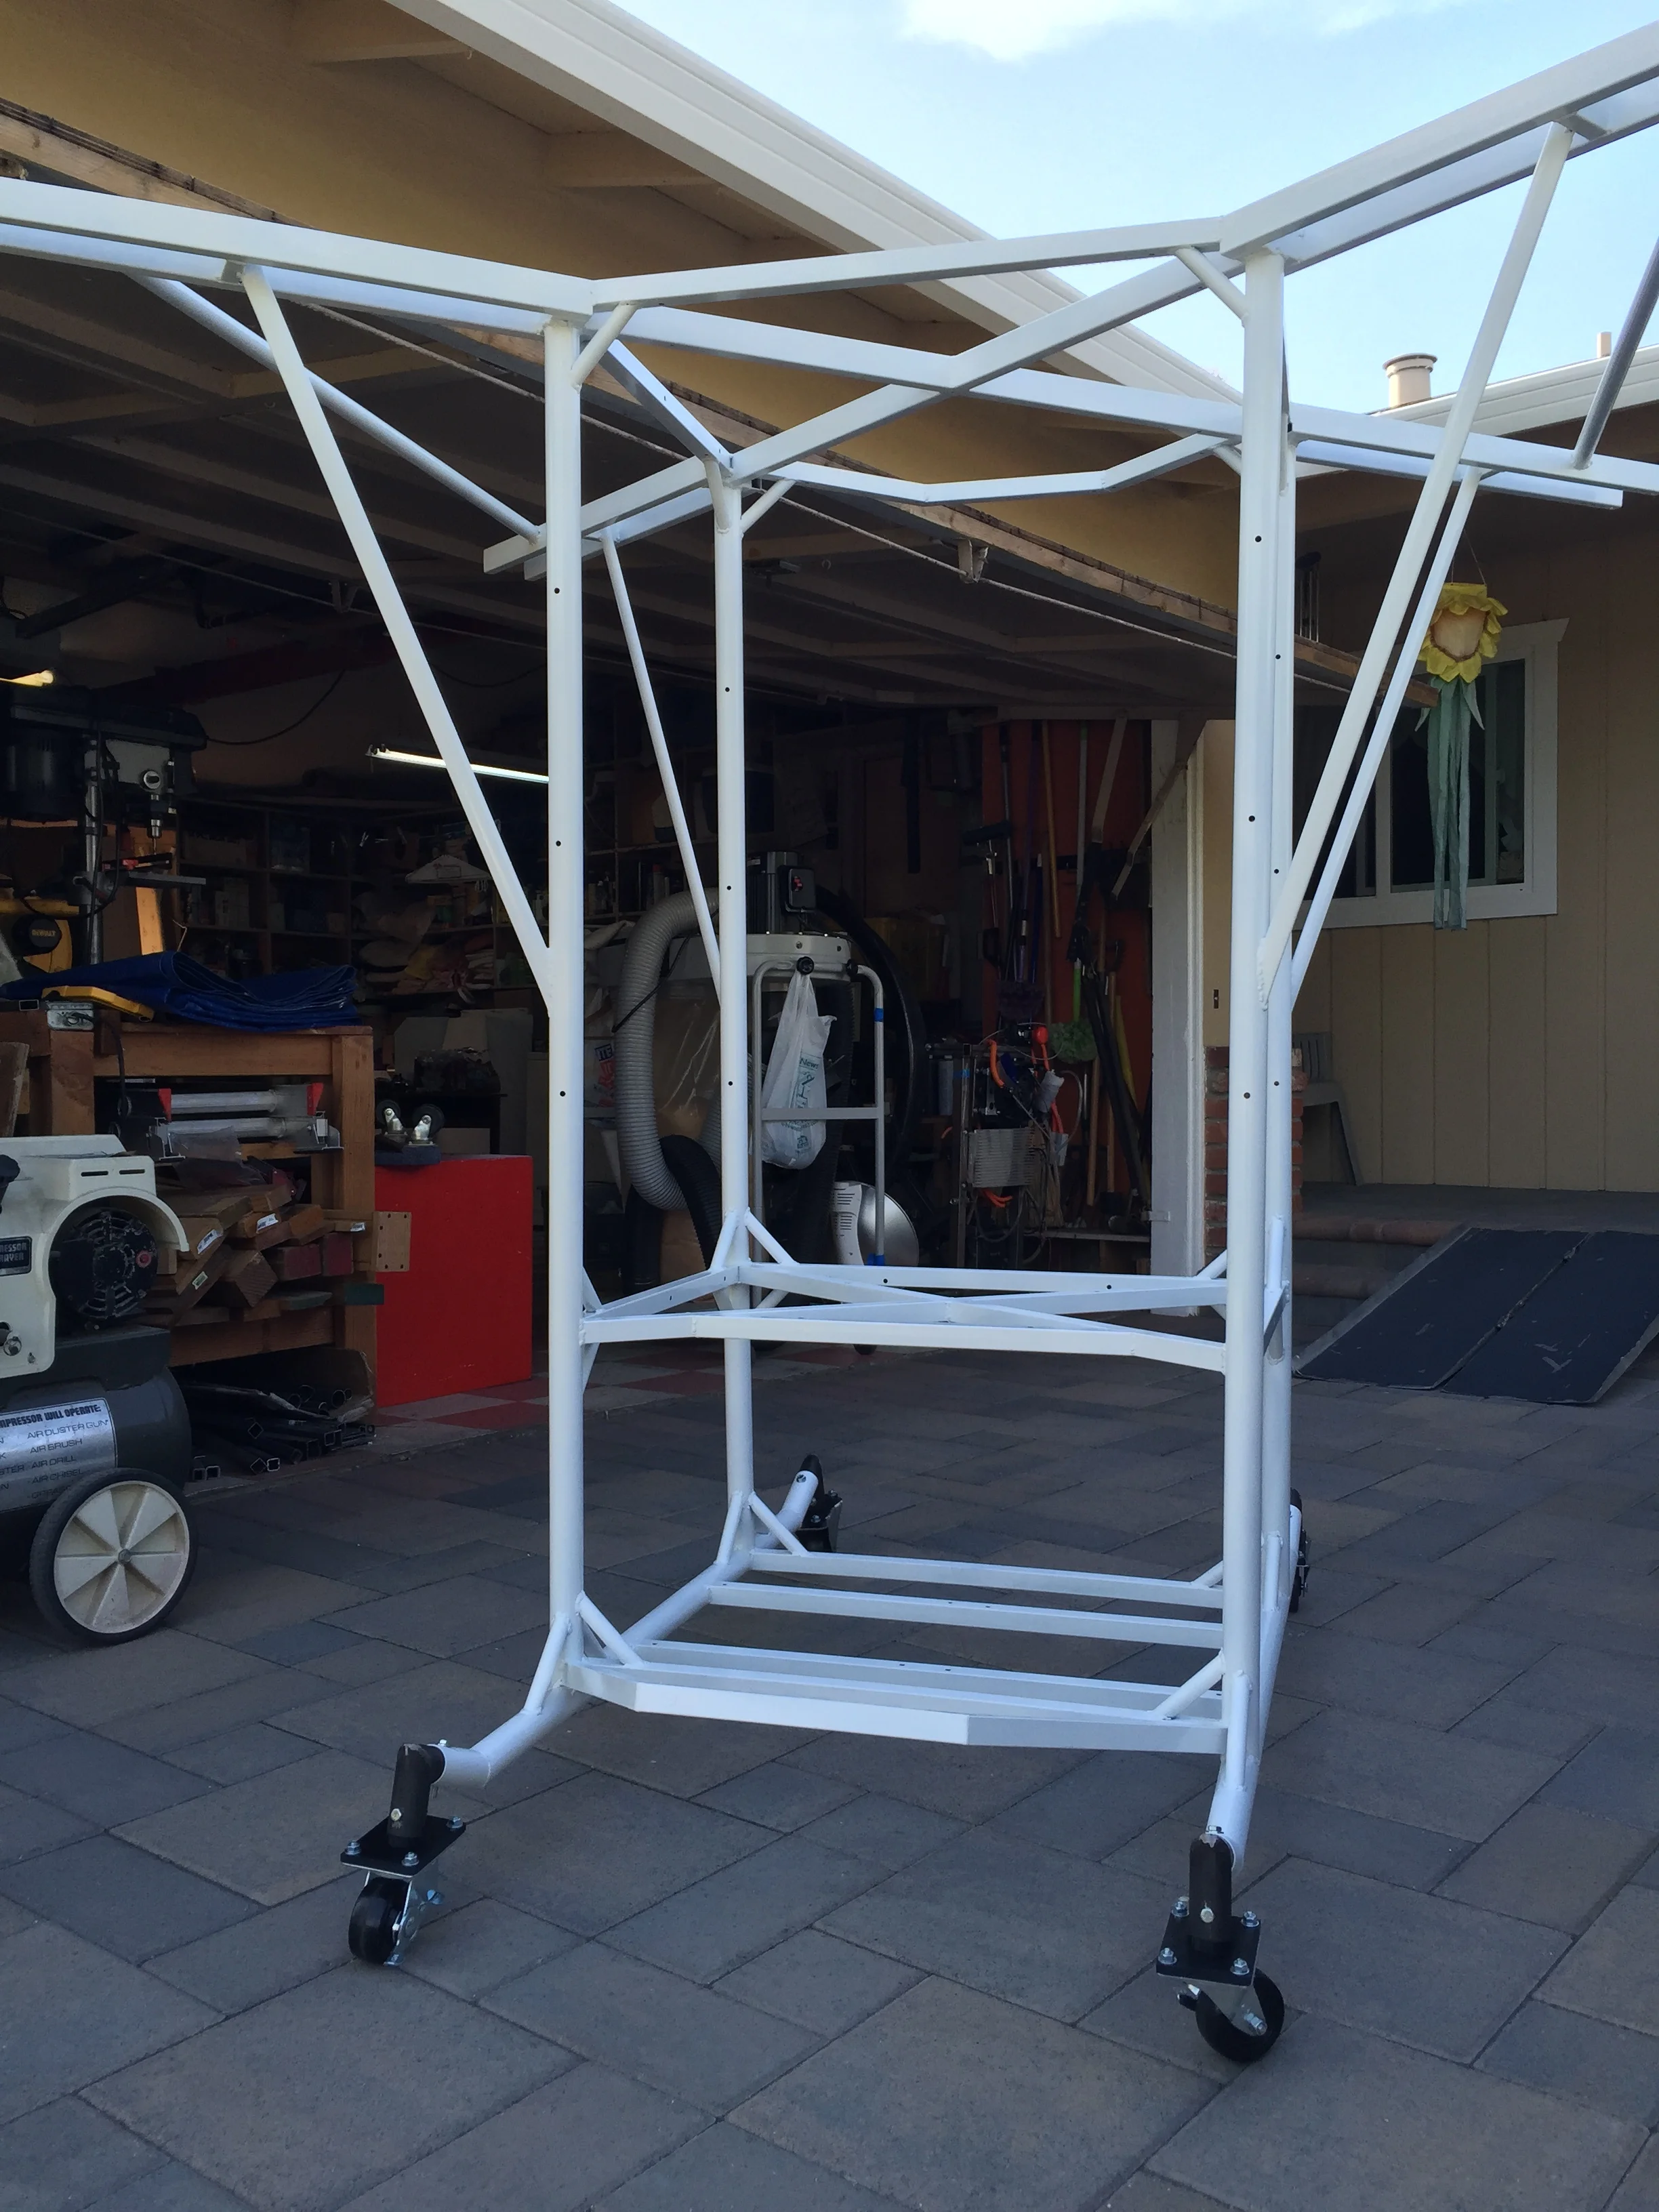
 Prepping for paint!  
IMG_6038.JPG
IMG_6045.JPG
IMG_6050.JPG
IMG_6055.JPG
IMG_6090.JPG
 These were all the wires that were hand-soldered to connect the batteries together
IMG_6100.JPG
 First attempts to mount ducts to the frame
IMG_6175.JPG
 Sometimes the 3D printer didn't want to cooperate on large, overnight prints
 Each side had its own controls for power and battery monitoring.  Each also required two switches to be pressed to activate power to the motors to ensure they couldn't accidentally be turned on.
IMG_6228.JPG
IMG_6237.JPG
IMG_6240.JPG
 Spray painting the duct bars
 Spray painting the duct bars
 By now the Mark I frame was rusting away and would soon be scrapped
 First efforts to hook get the new motors working!
IMG_6472.JPG
 Early concepts for the Mark IV while the Mark III was still under construction
 You really have no idea just how difficult the wiring was to make all this work
IMG_6642.JPG
 By the end, all the cables were nicely wrapped up so the mess was hidden
 Each motor had an independent power supply of 16 batteries
IMG_6713.JPG
IMG_6722.JPG
IMG_6757.JPG
IMG_6759.JPG
IMG_6766.JPG
IMG_6768.JPG
IMG_6770.JPG
 This is how many batteries it took to power the Mark III - 64 batteries weighing ~100lbs
 
Contact Us